Snow Melting for a Concrete Patio
Follow our detailed guide and learn how to install a snow melting system for a concrete patio, so that you can keep every square foot of your outdoor spaces snow and ice free.
What is Snow Melting?
If you're a home owner and you've ever wondered, "how can we reduce the freezing of snow on asphalt?", then perhaps radiant snow melting systems can be of some assistance to you and your loved ones.Have you ever seen snow fall on an already warm car? It melts instantly.This is the essential idea behind snow melting systems—a heating element is embedded in your driveway (or patio, walkway, etc.) and it melts the snow that falls on it.
Like any outdoor surface, a new patio can benefit from installing a WarmlyYours snow melting system (available in both mats and cables). By incorporating a heating system in your new patio design, you can enjoy your outdoor living spaces without having to rely on an expensive snow removal service or potentially harmful snow melting chemicals.
Designed to install directly in mortar beneath pavers, concrete or asphalt, our cable snow melting systems ensure that driveways, patios, walkways, ramps, or stairs stay ice and snow free, allowing for safe passage for you and your loved ones.
Learn More About Snow MeltingWarmlyYours Snow Melting Systems
The patio is your oasis—a place where you can kick back, relax, and unwind. But winter has a bad habit of ruining that by dumping huge amounts of snow on your patio.
Even if you go through the backbreaking labor of shoveling it off, you’ll still be left with a dangerous layer of ice.
By installing a WarmlyYours snow melting system in a new patio or veranda construction, you can make sure your patio stays clear of snow and ice throughout the year.
This is great for late season grilling or just getting a few moments of fresh air outside of the house.
Start Smart with a Free SmartPlan
Perhaps the most important stage in installing a snow melting system is getting a good installation plan.
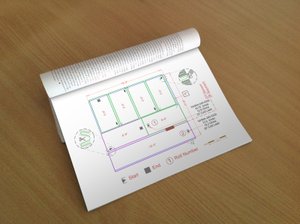
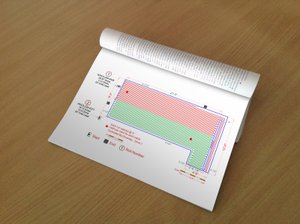
WarmlyYours provides a free, no-obligation SmartPlan that includes an installation plan, an electrical plan, and an itemized quote, all of which is prepared by a highly skilled team of engineers.
All you have to do to take advantage of this service is to provide WarmlyYours with a sketch of the project that includes dimensions and other relevant information, like where power will be most readily accessible.
Within typically one day of providing this information, you'll receive your free SmartPlan. The itemized quote included in your SmartPlan will also include MSRP pricing so that you can properly budget for your project.
Request a Free SmartPlanWhen to Install a Snow Melting System in a Patio
Because the snow melting system is embedded within the surface itself, the best time to install a snow melting system is when a patio or porch is either being created or during a complete patio renovation.
These kinds of projects are typically undertaken from late spring to late fall.

Installing the Snow Melting System
The snow melting heating elements must be installed within the patio itself, approximately 2-3” beneath the finished surface. This spacing ensures the optimal performance of your system.
The thinness of an electrical snow melting system (1/4” for cables and 5/16” for mats) means it has a minimal impact on the overall depth of the project.
These snow melting systems can be used not only with concrete or pavers, but also with asphalt.
Step 1. Laying Down a Rebar Frame or Wire Mesh

The key to a successful snow melting system is in how it’s embedded. If it’s too deep, it won’t be able to effectively melt snow or ice. If it’s too shallow (or exposed), it could overheat and fail.
To make sure your heating element is the proper 2-3” from the final surface, many installers will use a rigid framework (rebar or wire mesh) that is propped up so that the heating element is exactly where it needs to be.
Tip: For your framework, avoid using a metal mesh or frame that has sharp edges or burrs.
Step 2. Dry-fitting Your Snow Melting System


Once you have your framework in place at the proper depth, it’s a good idea to layout your snow melting system before you’re ready to attach it.
Using your WarmlyYours SmartPlan should help make this process as smooth, and as accurate, as possible.
This will help ensure that you have the right amount of heating elements prior to actually attaching them.
If you identify any issues at this vitally important stage, we recommend that you contact us at 800-875-5285, and we’ll help you identify the right solution to the problem.
Step 3. Start Laying Out Snow Melting Mats


As previously mentioned, maintaining the proper spacing of the heating elements is the key to a successful snow melting system.
The snow melting mats, available from WarmlyYours, are designed to maintain the desired 3” spacing of the heating cables.
The heating elements should be attached to the mesh using wire ties or zip-ties to maintain proper depth and spacing.
Attaching them keeps the heating element flat and prevents it from “floating” too close to the final surface when the concrete is poured.
Step 4. Making Sure the Manufacturer’s Splice is Embedded in Concrete

The power is carried to each cable by a “cold lead,” which is connected to the heating cable on the mat via a manufacturer’s splice.
One of the most common snow melting installation mistakes that people make is leaving this splice, and some of the heating cable, outside of the concrete or sand (sometimes people leave it in the conduit or simply leave it exposed). This can cause the splice, which is half heating element, to overheat and fail.
By simply making sure that the splice is embedded, you’ll ensure that it has an appropriate medium (concrete, sand, mortar, or stone dust) to prevent overheating.
Step 5. Pouring Concrete
Concrete or cement installs can be done in two different ways: 1-stage pours or 2-stage pours.
For 2-stage pours, the installer will pour an initial base layer of concrete and then, while the first layer is still wet, lay the framework (with attached heating element) on top. Then, the second 2-3” layer of concrete can be applied
For 1-stage pours, the framework (with attached heating element) must be propped up so that the heating element will be 2-3” below the finished surface. Once that is done, the concrete can be poured on, around, and over the framework.
See the WarmlyYours snow melting installation manual for more info.
The Finished Heated Patio
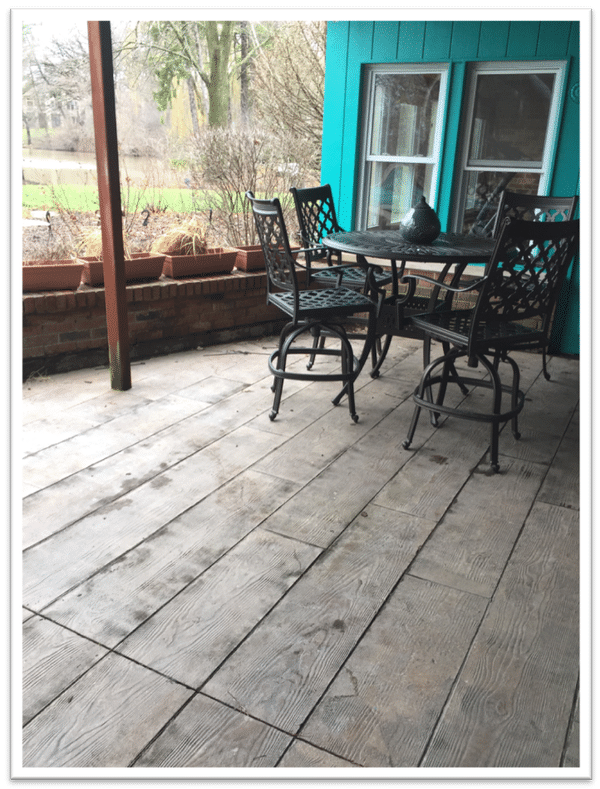
Once the patio is completed, it’s ready to be used. Just add snow! This particular patio featured a beautiful rolled faux-wood finish along with wrought-iron patio furniture and a built-in fire pit.
Just imagine how nice it will be to be able to use your patio in the dead of winter to let your pets out, or just to simply enjoy a minute or two out of the house.

The Control for Your Snow Melting System
WarmlyYours offers a wide variety of controls for our snow melting systems - from a manual option with a timer that will only activate when you turn it on/off, to an automatic option that will turn on when it senses snow is falling.
These controls (excluding the manual and WiFi options) are able to function with the use of sensors. There are two main types of sensors: slab and aerial. Slab sensors are installed along with the heating element (but never touching it) and they can measure the conditions at the surface (slab sensors are not recommended for use with pavers). Aerial sensors are installed in the open and are actually able to detect whether or not it’s snowing.
For more information about the variety of snow melt controls and sensors available from WarmlyYours, check out this comparison chart.
Shop ControlsSnow Melting System in Action
Most WarmlyYours snow melting systems will continue to run past when the snow stops falling. This will typically evaporate the water left behind, and in its place, you’ll find clean, dry pavers or concrete. Snow melting systems like this allow you to do away with chemical melting agents, which will be easier on your pets and your vehicles. It will also be much easier on your body when you can officially retire the snow shovel.
Here's a video showing a snow melting system in "tire tracks" format melting snow in a residential driveway. Typically, a snow melting system would be installed in a patio to provide full coverage.
Shop Snow MeltingCompare Snow Melting System Costs
Heated Concrete Back Patio
*All pricing information is MSRP and is subject to change. Operating cost calculation is based on the national average of $0.19 per kWh, but consumption may vary based on individual conditions.


