Some do-it-yourself (DIY) projects seem easier than others. Hanging a new mirror in your bathroom? No problem! Painting a wall to give the room a fresh pop of color? Done! But bigger projects, including installing your own in-floor heating system, can seem like they are best suited for a professional contractor.
While installing radiant heat must be done properly to ensure the best results, WarmlyYours Radiant Heating has created a DIY-friendly product that installs in nine easy steps and has built-in tests and aids to help make the process as safe and simple as possible.
No frustration, just pride. And nice, warm floors to greet you every morning.
Here are the nine steps WarmlyYours suggests for successfully installing your floors.
1. Start with a floor plan.
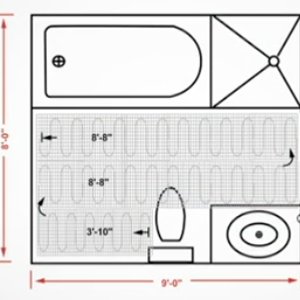
An important step to a frustration-free installation is to start your project with a professional floor plan. Just measure the areas you'll be heating, and skip over any areas you won't: toilets, air vents, vanities, cabinets, islands, etc. Find tips on accurately measuring rooms yourself here. After you have your measurements, submit them to WarmlyYours online, and you'll receive a customized floor plan (usually within a day) that shows how to warm your room as efficiently as possible and what product you need.
2. Order your materials.
Your customized floor plan shows you exactly what floor-warming roll, mat or cable your specific project needs and how much it will cost. Call 800-875-5285 or visit www.warmlyyours.com to place your order.
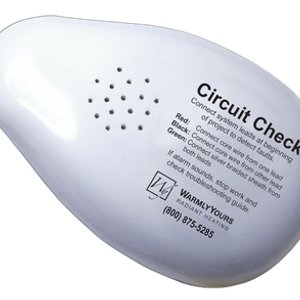
Consider adding the Circuit Check from WarmlyYours. This small device gives you a heads up if there is a short in the circuit or break in the system while you are installing it. This is one of the main concerns of DIYers and the source of many installation horror stories. Skip the drama and just wire this simple product to the mat during installation. An alarm sounds if anything damages the circuits. Just check the area you were just working on or look at where everyone just stepped to correct the issue and move on. Check out this video on how to connect the Circuit Check to your mat for installation.
You can also add a splice kit to your cart. If the Circuit Check alerts you that someone has stepped on and broken or nicked a wire, this kit gives you all the accessories you need to make a repair. Use the pre-cut heat shrink tubing, a crimp-on connector, and high-conductive grounding tape to create a reliable, moisture-proof connection, and continue your installation with confidence.
These two accessories from WarmlyYours help ensure a smooth, successful installation, eliminating many of the headaches and question marks you may have.
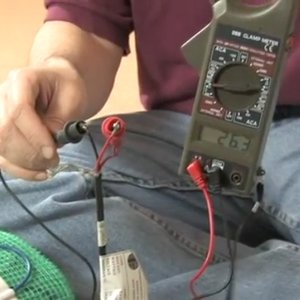
3. Test your products.
As soon as you take your WarmlyYours electric floor-heating system out of the box, you should test it with a digital ohmmeter. The test should be within 15 percent of the value marked on the UL label.
4. Inspect the subfloor.

Inspect your subfloor surface and make sure to remove any enemies to a smooth installation, such as sharp edges or pointed objects (think staples, exposed nails, etc.). These could all damage the heating element. When the area is clear, refer to the installation plan provided and mark off areas on the floor where permanent, heavy fixtures will rest. Note: You'll need the following tools for system installation: a digital ohmmeter, scissors, a staple gun, a Circuit Check, a tape measure, and a hot glue gun. Having a splice kit handy is a nice bonus.
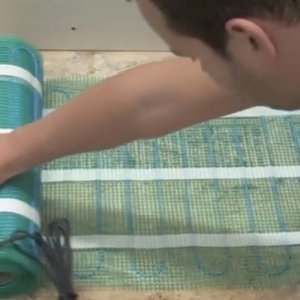
5. Begin installation!
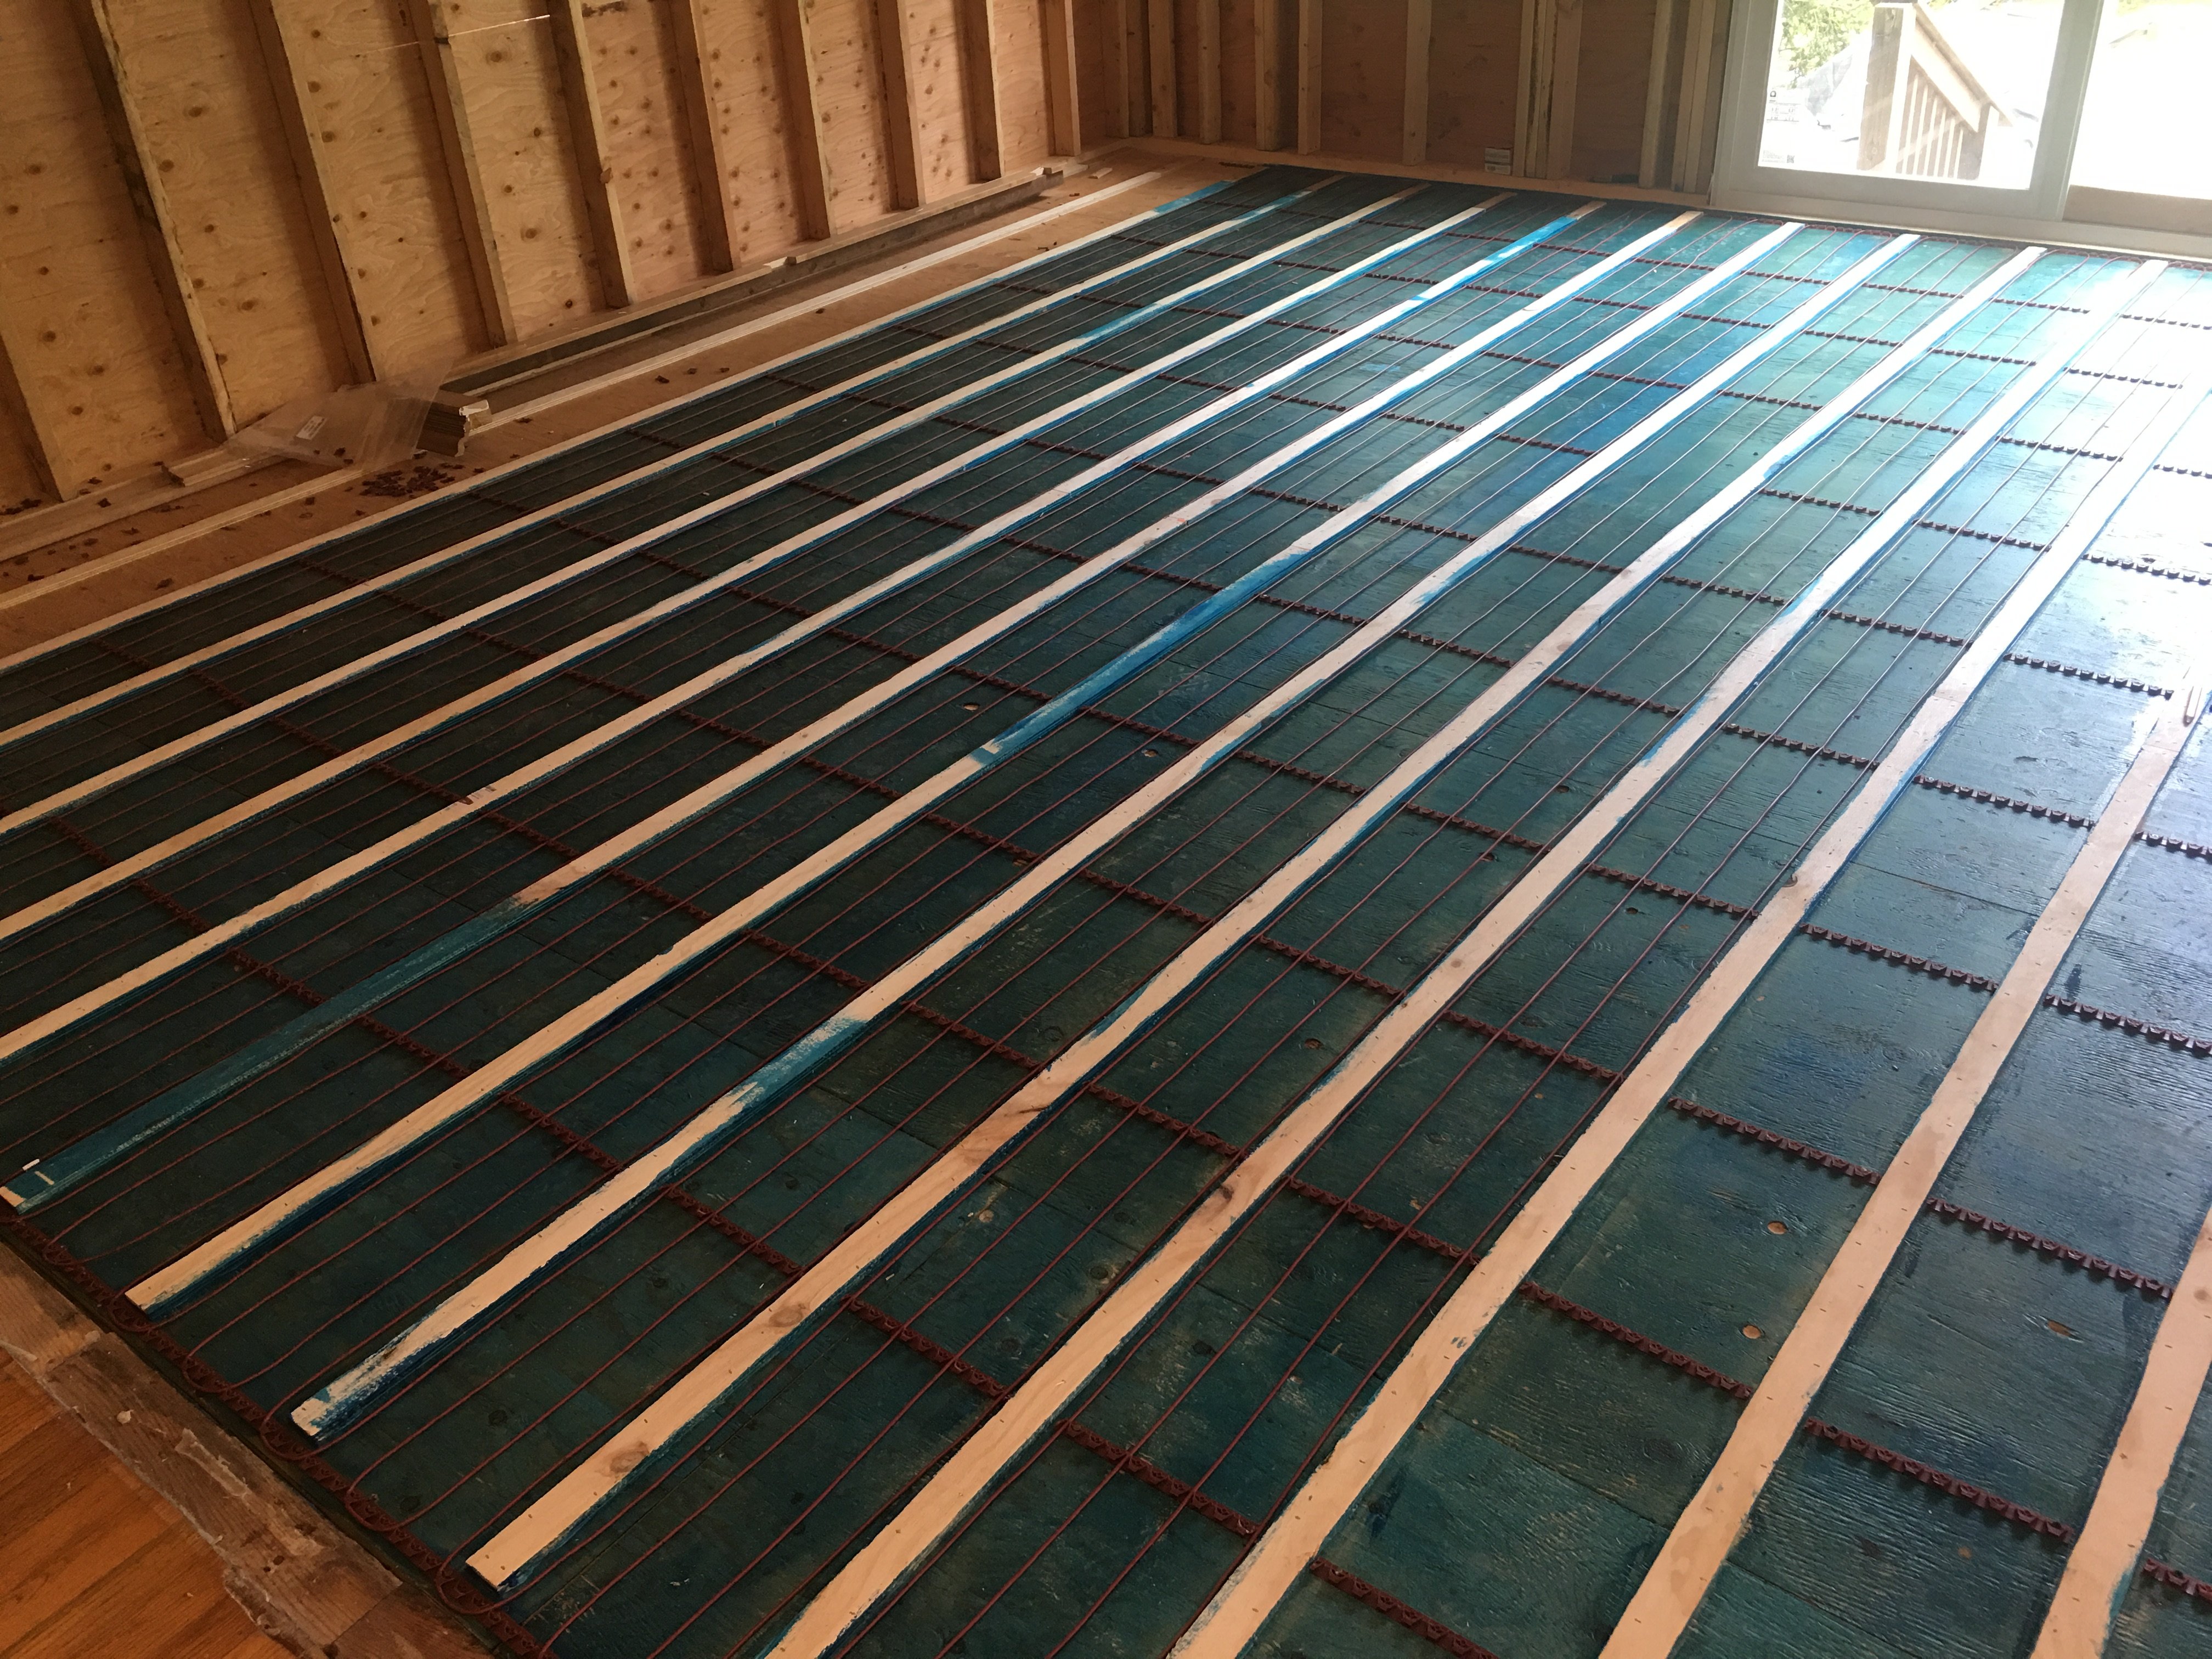
Follow the instructions on your floor plan and roll out your mesh roll in the proper direction. Remember that the heating cable should be face down. This protects the heating cable during the installation process.
When you get to a turn, simply cut the mesh all the way across, taking extra care not to cut the heating cable. Take the remaining section of the heating cable and move it into place to start your next run.
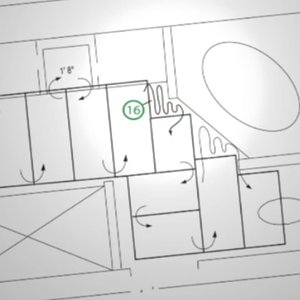
Freeform the heating cable if you need to work around an object or a corner. On your customized floor plan, freeform sections appear as a wavy line with an arrow. This symbol is accompanied by the unit of measure in a circle that indicates the amount of mesh to be removed.
When you have trimmed the tape, separate the heating element and remove the mesh. From there, place the heating element in a serpentine design by hand and attach it to the floor with hot glue or tape. It is best to maintain 3-inch spacing, similar to the spacing on the heating rolls, for the highest watt density.
Make sure the heating rolls are straight as you secure them and that you allow for proper spacing between the heating cables. You can use hot glue or staples to secure the heating roll to the floor, depending on the flooring type.
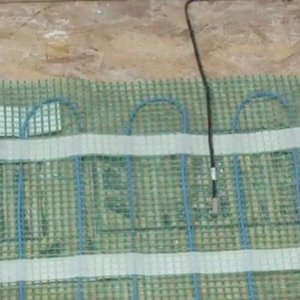
6. Install the sensor.
When putting the sensor in place, position it between the heating cables, making sure not to overlap any of the cables. Weave the sensor between the mesh or hot glue the sensor to hold it securely in place so that it will not move when you're applying mortar.
7. Test again.
With a digital ohmmeter, test the rolls again to make sure they are in good working condition. This is an important step. As a reminder, the test should still be within 15 percent of the value marked on the UL label.
Then, connect the WarmlyYours Circuit Check to confirm that there is no short in the system.
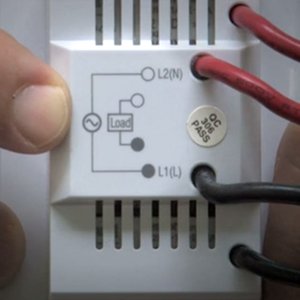
8. Connect to the thermostat.
After your tests confirm that your heating rolls are working correctly, allow a professional electrician to wire your WarmlyYours thermostat, following the instructions provided with the thermostat.
9. Install the flooring.
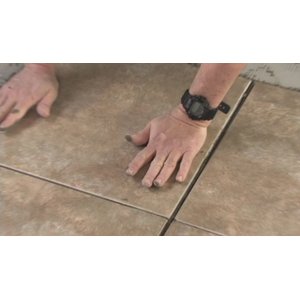
Finish the project by installing the flooring of your choice. It is hard to wait, but make sure you give your thinset and grout
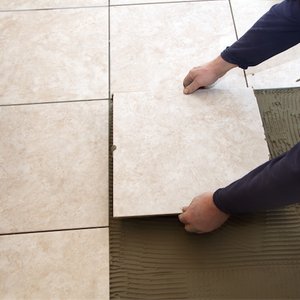
the proper amount of time to cure before powering up your radiant heating system.
Those are the nine easy steps that take you from DIY novice to a DIY king or queen! Remember, if you have any questions along the way, WarmlyYours technical support is there to help! Experts are available 24/7 to assist with any issues that arise during installation. Just call 800-875-5285.
That's it! You can enjoy your radiant heated floors! You'll probably doubly enjoy them since you successfully installed them yourself.
If you want to see these nine tips in action, watch this video.
*Note: Refer to the product manual for complete installation instructions.
