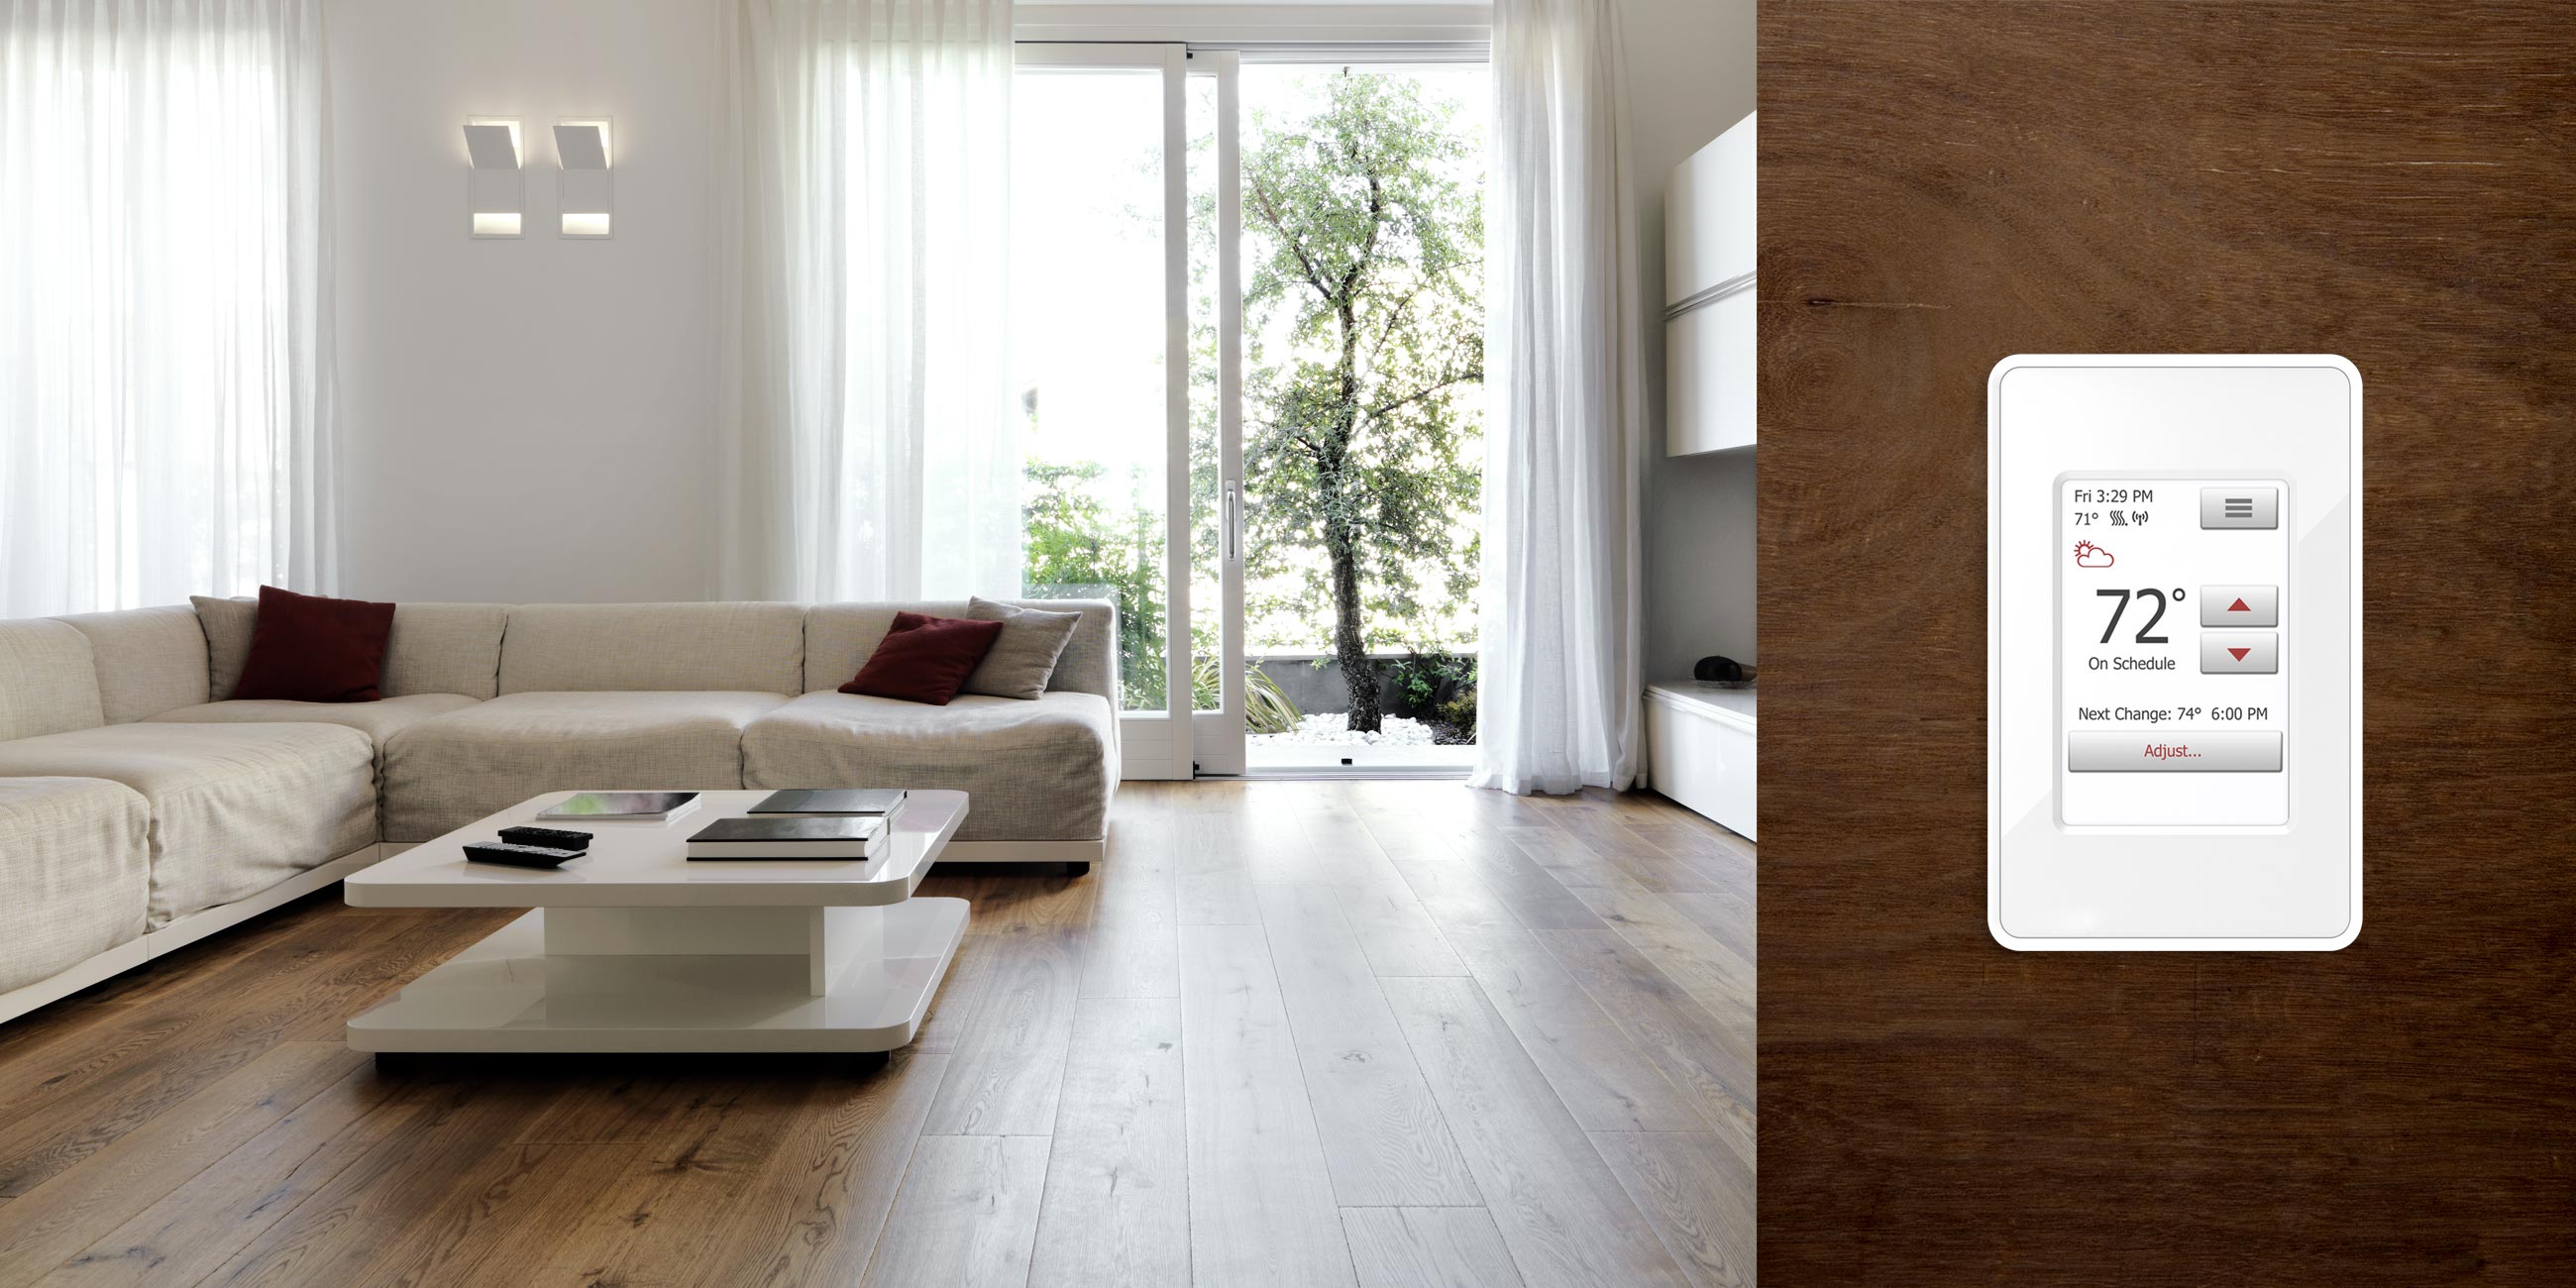
In the fall, WarmlyYours Radiant Heating overhauled its line of floor-heating thermostats to better suit its customers’ needs. The new nSpiration Series of thermostats, which includes the nSpire Touch WiFi, nSpire Touch, nHance and nTrust models, are compatible with a wide range of floor-heating sensors, making them a fit with nearly any existing floor-heating system. These models also feature a more attractive display and intuitive interface.
As a result of this product launch, there has been overwhelming interest in homeowners replacing their old thermostats with a new nSpiration Series thermostat.
Did You Know?
- You can use the same opening and sensor for your new thermostat.
- The new thermostat is actually easier to wire because there is less crowding within the electrical box.
For step-by-step instructions on how to remove your old thermostat and install the new one, view the video below or read our simple instructions.
- First, turn off the circuit breaker to protect yourself from electrical shock.
- Unscrew the faceplate from the previous thermostat. This exposes the base, which can then be unscrewed.
-
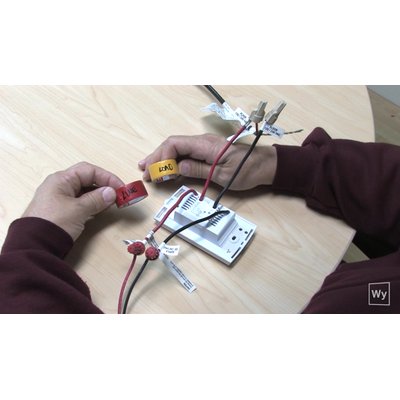
![]() Once the base is removed, mark the wires with colored tape to note which ones are load (or floor) wires and which ones are line wires. Then, disconnect the wires.
Once the base is removed, mark the wires with colored tape to note which ones are load (or floor) wires and which ones are line wires. Then, disconnect the wires. - Now, get out your new nSpiration Series thermostat. Loosen the screws on the back as much as they will go without forcing them. The screws will not come off. They’ll simply allow enough room for the wire to fit underneath the bracket.
- Remove the plastic cap on the back to reveal the placement of the load and line wires.
- Place the line wires first by inserting them underneath the metal brackets attached to the loosened screws. Once they are in place, tighten the screws. You should still see a small part of the wire after the screws have been tightened. This ensures that the plastic insulation is not compressed, which would lead to an intermittent connection or no connection at all.
-
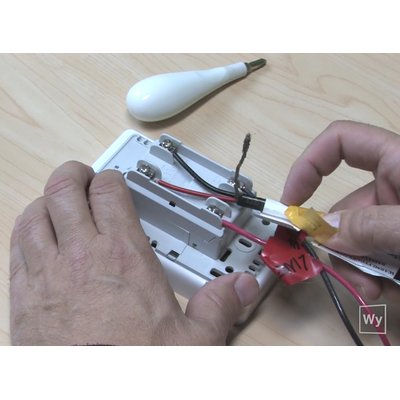
![]() Then, place the load wires so that they are coming from the same direction as the line wires. You’ll notice a convenient plastic barrier between the two line wires that will keep the load wires from overlapping. Once the load wires are in place, tighten the screws. Note: The red and black colors of the wires do not matter. You only need to worry about whether they are line or load wires.
Then, place the load wires so that they are coming from the same direction as the line wires. You’ll notice a convenient plastic barrier between the two line wires that will keep the load wires from overlapping. Once the load wires are in place, tighten the screws. Note: The red and black colors of the wires do not matter. You only need to worry about whether they are line or load wires. - Snap the plastic cap back into place over the wires. The leftover ground wire will be connected to a ground screw within the electrical box later.
- Place the sensor wire. First, test the sensor wire with a digital ohmmeter to make sure it is working properly. If it is, feed the sensor wire through a hole in the base of the thermostat and install the wires in the channels marked “sensor.” Tighten the corresponding screws to hold the wires in place.
- Install the base plate by screwing it into the box.
-
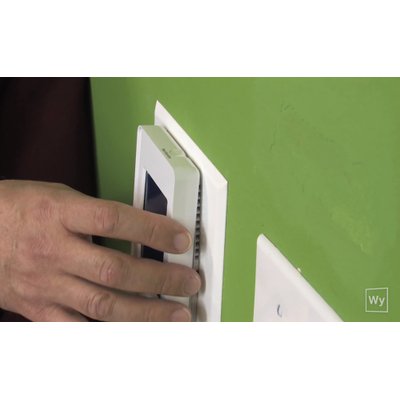
![]() Install the face plate over the top of the base so as not to disturb the GFI test button. Tighten the screw at the bottom of the unit to secure the face plate.
Install the face plate over the top of the base so as not to disturb the GFI test button. Tighten the screw at the bottom of the unit to secure the face plate. - Turn the circuit breaker back on and you’re finished!
If you’re interested in replacing your thermostat with an nSpiration Series control, find your perfect fit at www.warmlyyours.com/thermostats.


 Once the base is removed, mark the wires with colored tape to note which ones are load (or floor) wires and which ones are line wires. Then, disconnect the wires.
 Then, place the load wires so that they are coming from the same direction as the line wires. You’ll notice a convenient plastic barrier between the two line wires that will keep the load wires from overlapping. Once the load wires are in place, tighten the screws. Note: The red and black colors of the wires do not matter. You only need to worry about whether they are line or load wires.
 Install the face plate over the top of the base so as not to disturb the GFI test button. Tighten the screw at the bottom of the unit to secure the face plate.