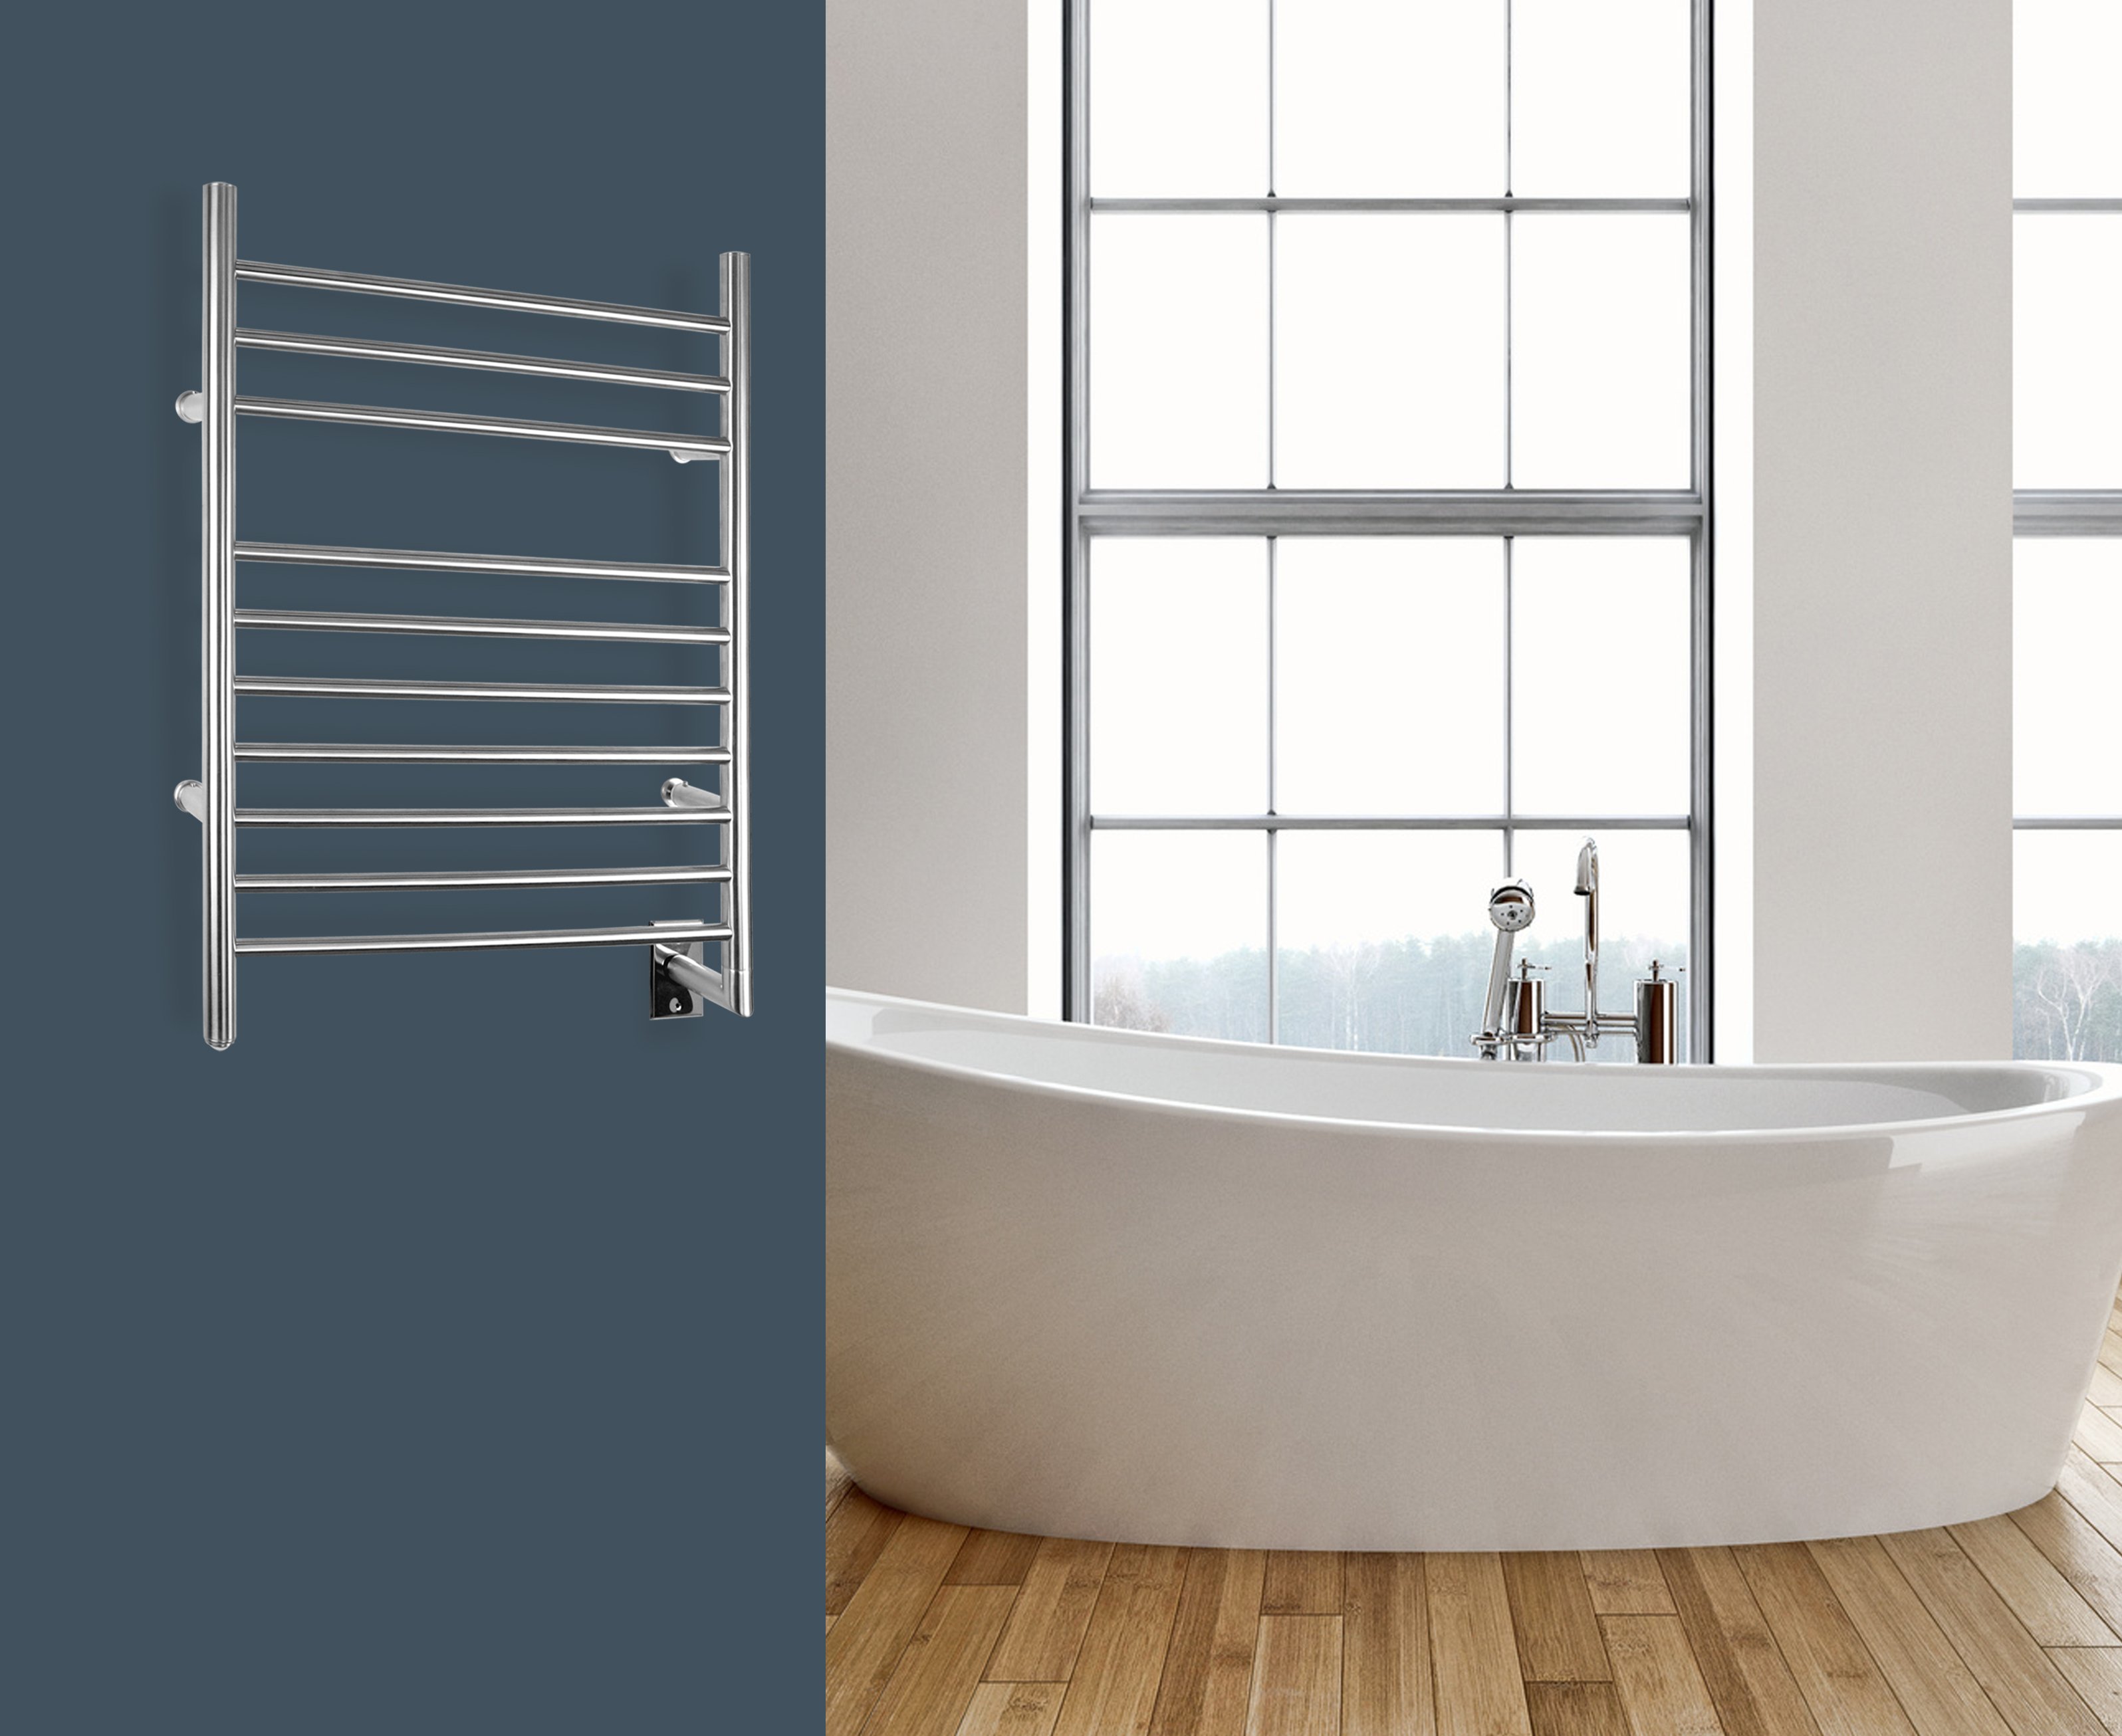
A towel warmer is a luxury add-on for any bathroom. There’s nothing like being greeted by a warm, fluffy towel when you step out of the shower or tub. Another great perk is that towel warmers are easy to install. Just follow these 3 steps, and you’ll be on your way to pure bathroom bliss.

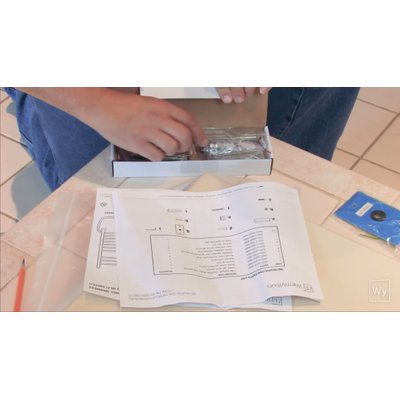
Step 1: Unpack the instruction guide and parts kit.
As with any product installation, the first thing you want to do is make sure that you have all the parts you need. Match up the items in your parts kit with the items shown in your instruction guide to make sure nothing is missing.

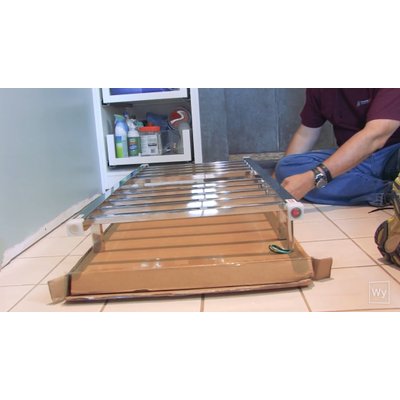
Step 2: Use the shipping box as a mounting template.
Attach the legs to the towel warmer per the installation guide. Then, flip the unit over on top of the cardboard shipping box and mark where each of the legs is located. If you have a hardwired towel warmer, you should also attach the electrical output tube and mark where it is located. Once you’ve outlined these items, use measuring tape to locate the center of each leg. This is where you’ll need to drill into the wall in order to mount the unit.
Tape the template to the wall where you wish to install the towel warmer. Then, draw a straight line between the top two leg markings and use a level to make sure your template is even. Using a screw driver, punch holes through the center leg markings to note where each hole should be drilled into the wall. If a stud is not behind the markings, use the provided wall anchors to ensure the towel warmer will be fully supported.

Step 3: Mount the towel warmer.
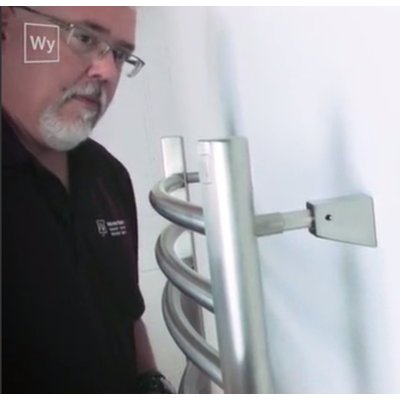
Remove the template and use your markings to drill holes through the drywall. Screw in the wall anchors (if the markings don’t align with a stud) and mount the mounting brackets. The legs of the towel warmer will fit onto the mounting brackets. Then you’ll just need to use the provided set screws to secure the towel warmer to the brackets. Please note: If your towel warmer is a hardwired unit, you should consult a licensed electrician to connect the unit to the circuit and install the timer or controller for the unit. If not, you can simply mount the towel warmer, plug it into a standard outlet, and it’s ready to use! Just don’t forget to remove the protective plastic caps at the top and bottom of the towel warmer as well as any stickers. Plus, if you’re using a timer or control for towel warmers, make sure the power switch is always in the “on” position. This will allow the controller to turn the towel warmer on and off as instructed.
If you need any help during installation, WarmlyYours experts are available 24/7 at 800-875-5285. You can also reference our how-to videos to see how exactly how our Metropolitan and Riviera towel warmers are installed. And, of course, your installation manual will also walk you through the process for your particular towel warmer. With all of this help available, we’re sure your installation will go off without a hitch!


