Start by taking measurements of your area in need of warmth.
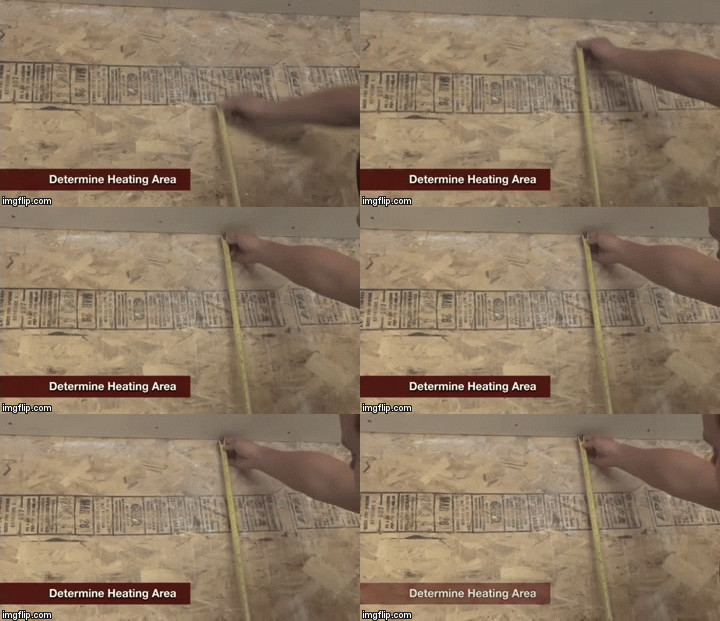
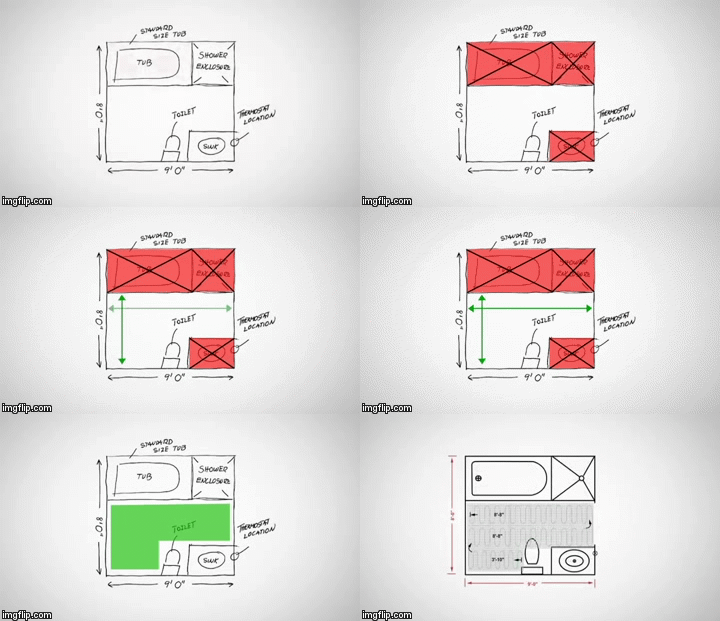
Exclude appliances, fixtures and cabinets and submit your dimensions to our team of experts. We will design a free floor plan to warm your area as efficiently as possible.
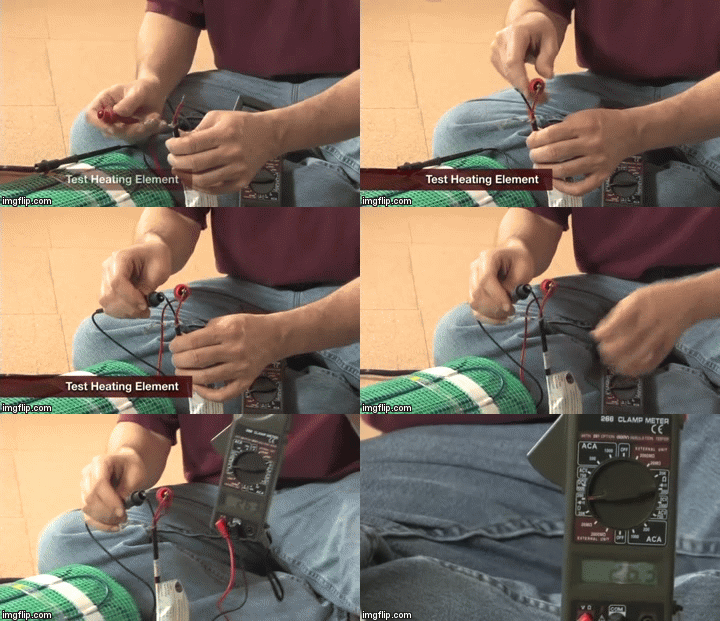
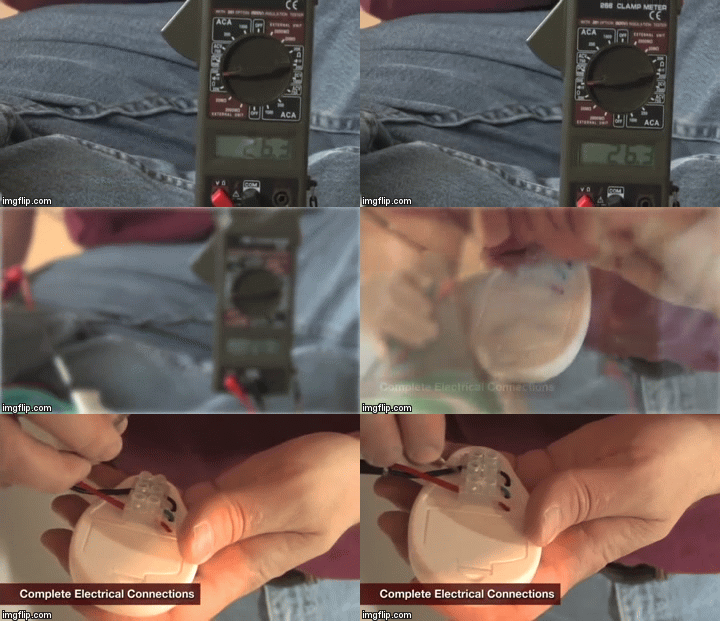
As soon as you receive your products, test every roll with a digital ohmmeter, to make sure the rolls are in good working condition. The test should be within 15% of the value marked on the UL label.
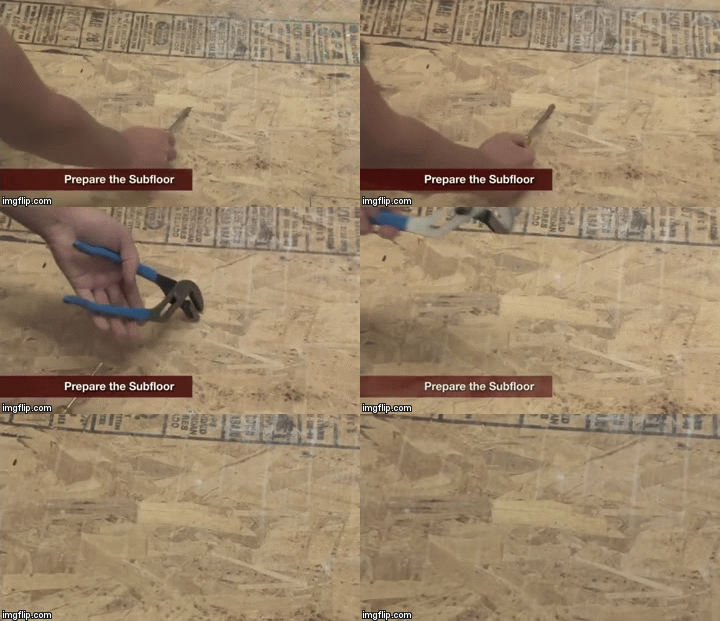
Inspect the subfloor surface carefully. It is important to remove any sharp edges or pointed objects that might damage the heating element.
Mark off areas on the floor where permanent heavy fixtures will rest.

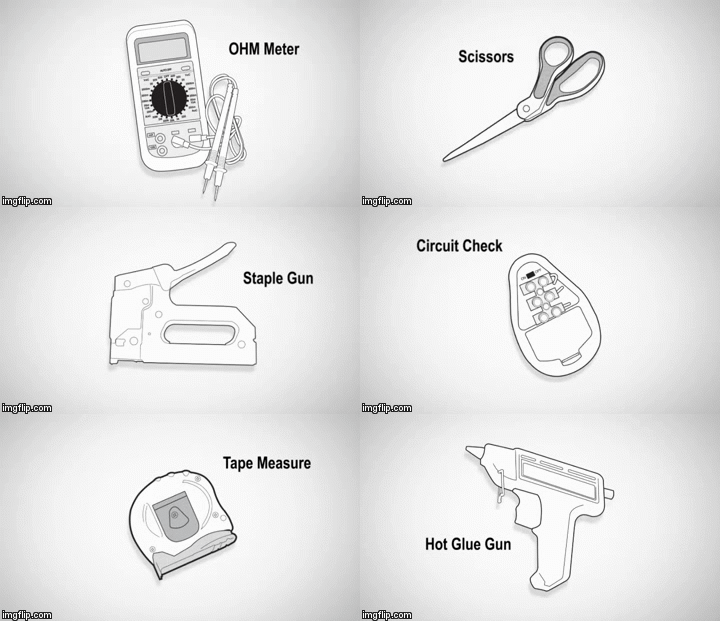
The tools you need for system installation are a digital ohmmeter, scissors, staple gun, circuit check, tape measure, and a hot glue gun.
Follow the instructions on your floor plan and start rolling out your mesh roll in the proper direction in lengths.
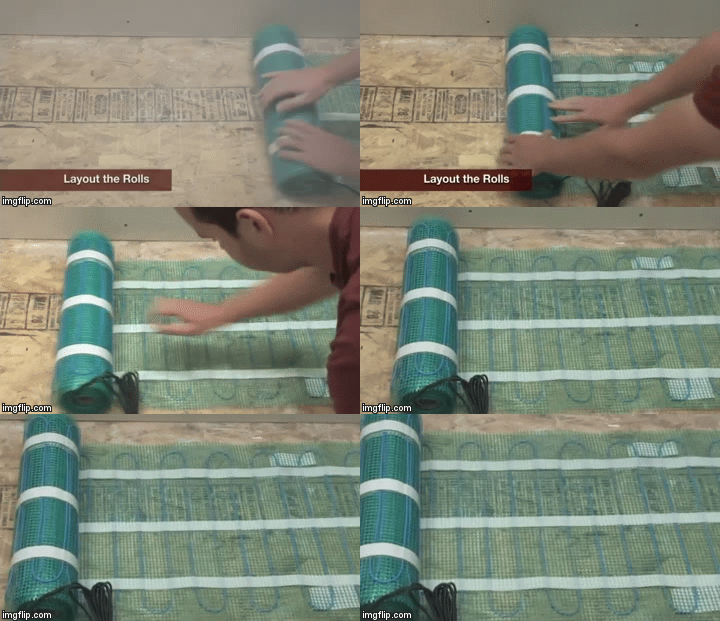
Keep in mind that the heating cable should be face down. This will help protect the heating cable during the rest of your install.
When you get to a turn, simply cut the mesh all the way across, taking extra care not to cut the heating cable. Take the remaining section of the heating cable and move it into place to start your next run.
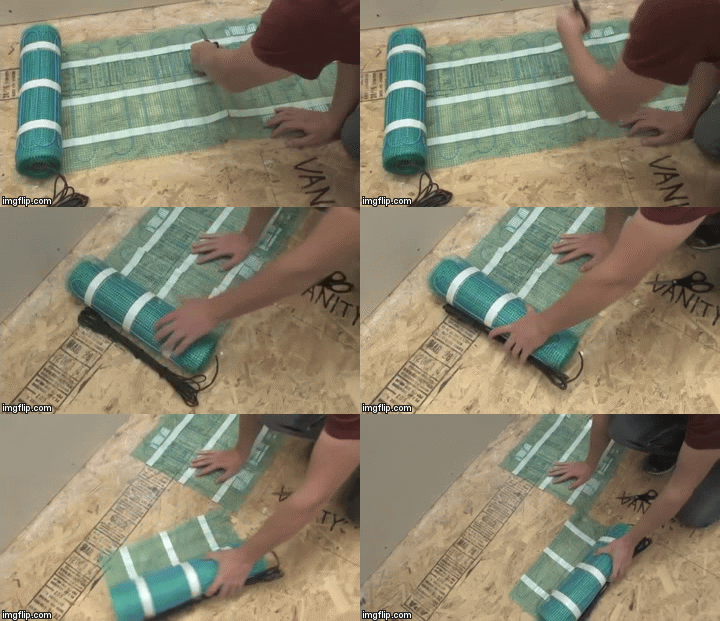
If you need to work around an object or a tricky corner, you have the option to freeform. Freeform spaces are filled with loose lengths of heating element.
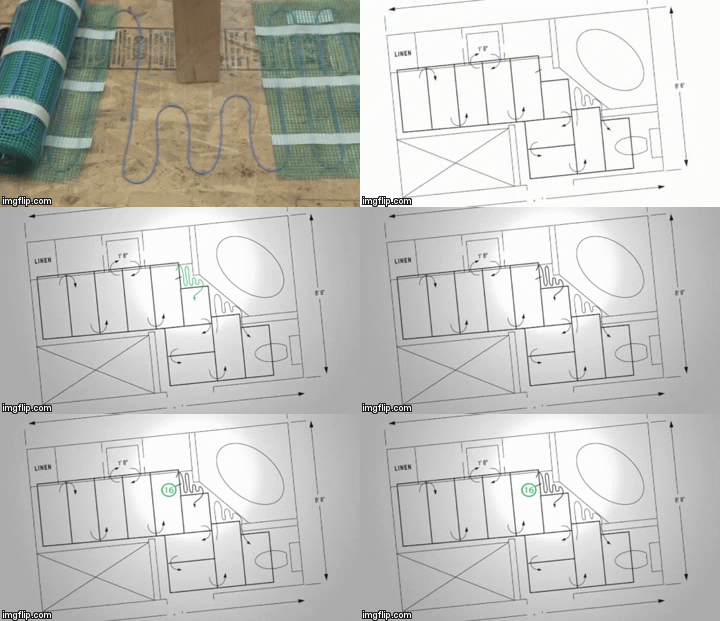
A wavy line with an arrow will appear on the installation plan to indicate the area that needs to be filled. This symbol is accompanied by unit of measure in a circle that will indicate the amount of fiber glass meshed to be removed.
Once the tape is trimmed, the heating element separated and the fiber glass mesh removed, position the heating element by hand and secure it to the floor with hot glue or tape.
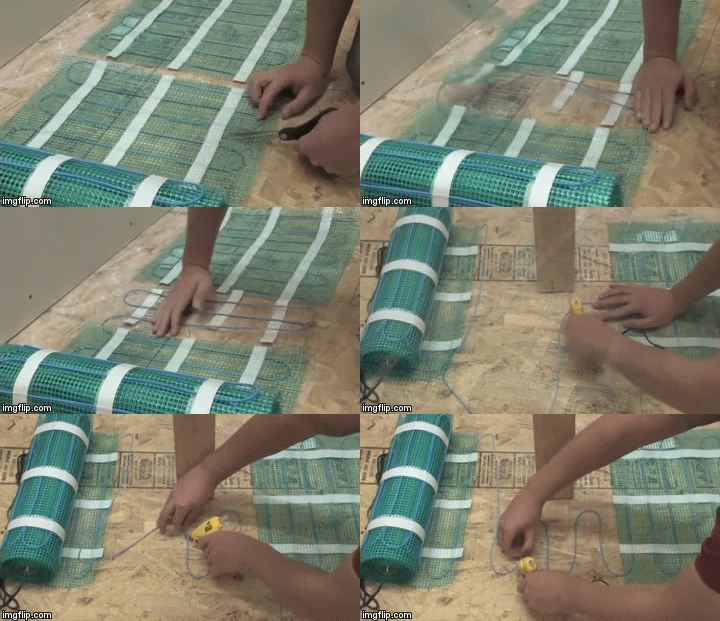
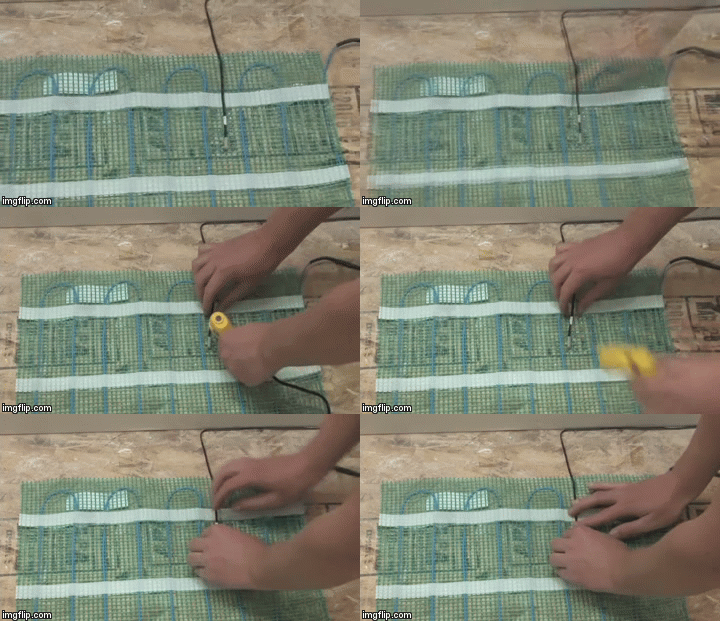
Try to maintain the three inch spacing similar to the spacing of the cable within the heating rolls. When securing the heating rolls, make sure they are straight and that you allow for proper spacing between the heating cables, making sure not to overlap the heating cable.

Depending on the flooring type, hot glue or staples can be used to secure the heating roll to the floor.
When laying in the sensor, position the heating sensor between the heating cables, making sure not to overlap any of the cables. Weave the sensor between the mesh or hot glue the sensor to hold it securely in place, so it won't move when applying mortar.
With an ohmmeter, test the rolls again to make sure they are in good working condition. To complete the electrical connections, start by connecting the WarmlyYours circuit check to validate that there is no short in the system.
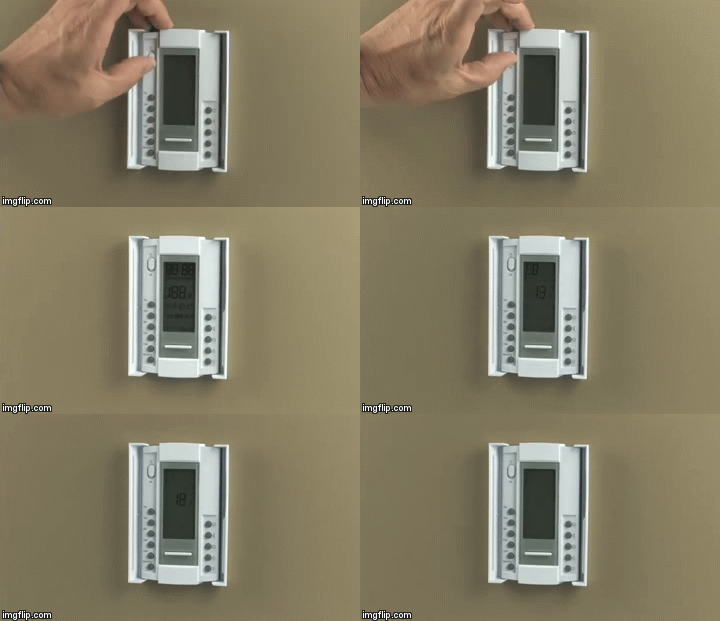
Once completed, allow a professional electrician to wire your WarmlyYours thermostat, following the instructions provided with the thermostat.
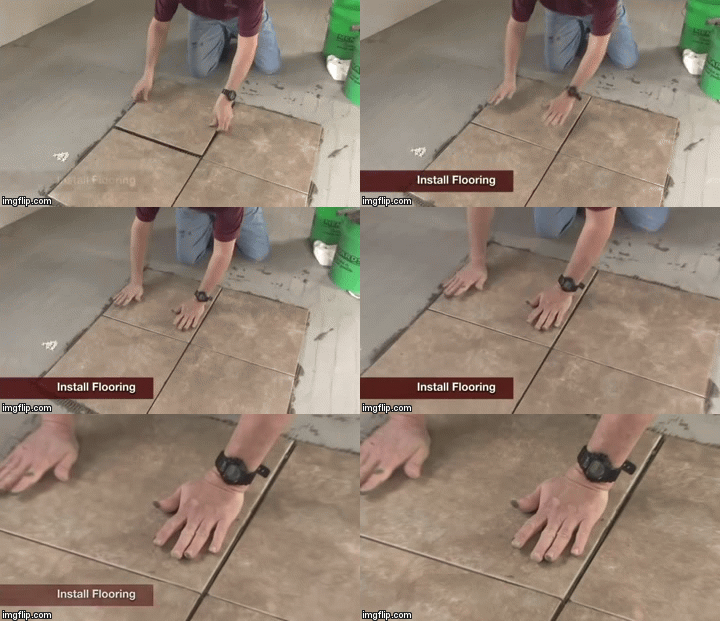
Install the flooring of your choice. Allow proper thinset curing time. Your time is recommended by the manufacturer before powering up the radiant heat system.
Now you can enjoy the comfort and warmth of your WarmlyYours heated floor.
For more information, visit www.warmlyyours.com or call us at 800-875-5285. WarmlyYours offers 24/7 Technical Support to ensure your installation goes smoothly.


