

In This Article
What happens when you inject something with ingredients designed to make it stronger? In the movies (or comics), you get characters like Wolverine. But real life has some stories to tell as well.
Take thinset, for instance. Back in the 1940s, people used 2-3 inches of thinset beneath their tile. That’s because they needed to make sure that the cement had enough moisture to fully cure. If there wasn’t enough moisture, the thinset wouldn’t be strong enough to bond the tile to the subfloor.
Unmodified thinset consists simply of cement, finely graded sand and water retention agents. It’s mixed with water before it’s ready to be spread out on the subfloor.
What is Thinset?
Thinset, also known as thinset mortar or dryset mortar, is an adhesive material used to install tiles on floors, walls, and countertops. It is a mixture of cement, fine sand, and water retention agents that forms a strong bond between the tile and the substrate surface.
The Rise of Modified Thinset
To help strengthen thinset, Henry Rothberg invented a synthetic form of latex to be added to the thinset, thereby kickstarting the whole segment of modified thinsets. He took inspiration from modified concrete mixes of the 1920s that were used to repair and strengthen sea walls. However, he made sure that his synthetic latex had a longer shelf life and extended working time to suit tile installations.
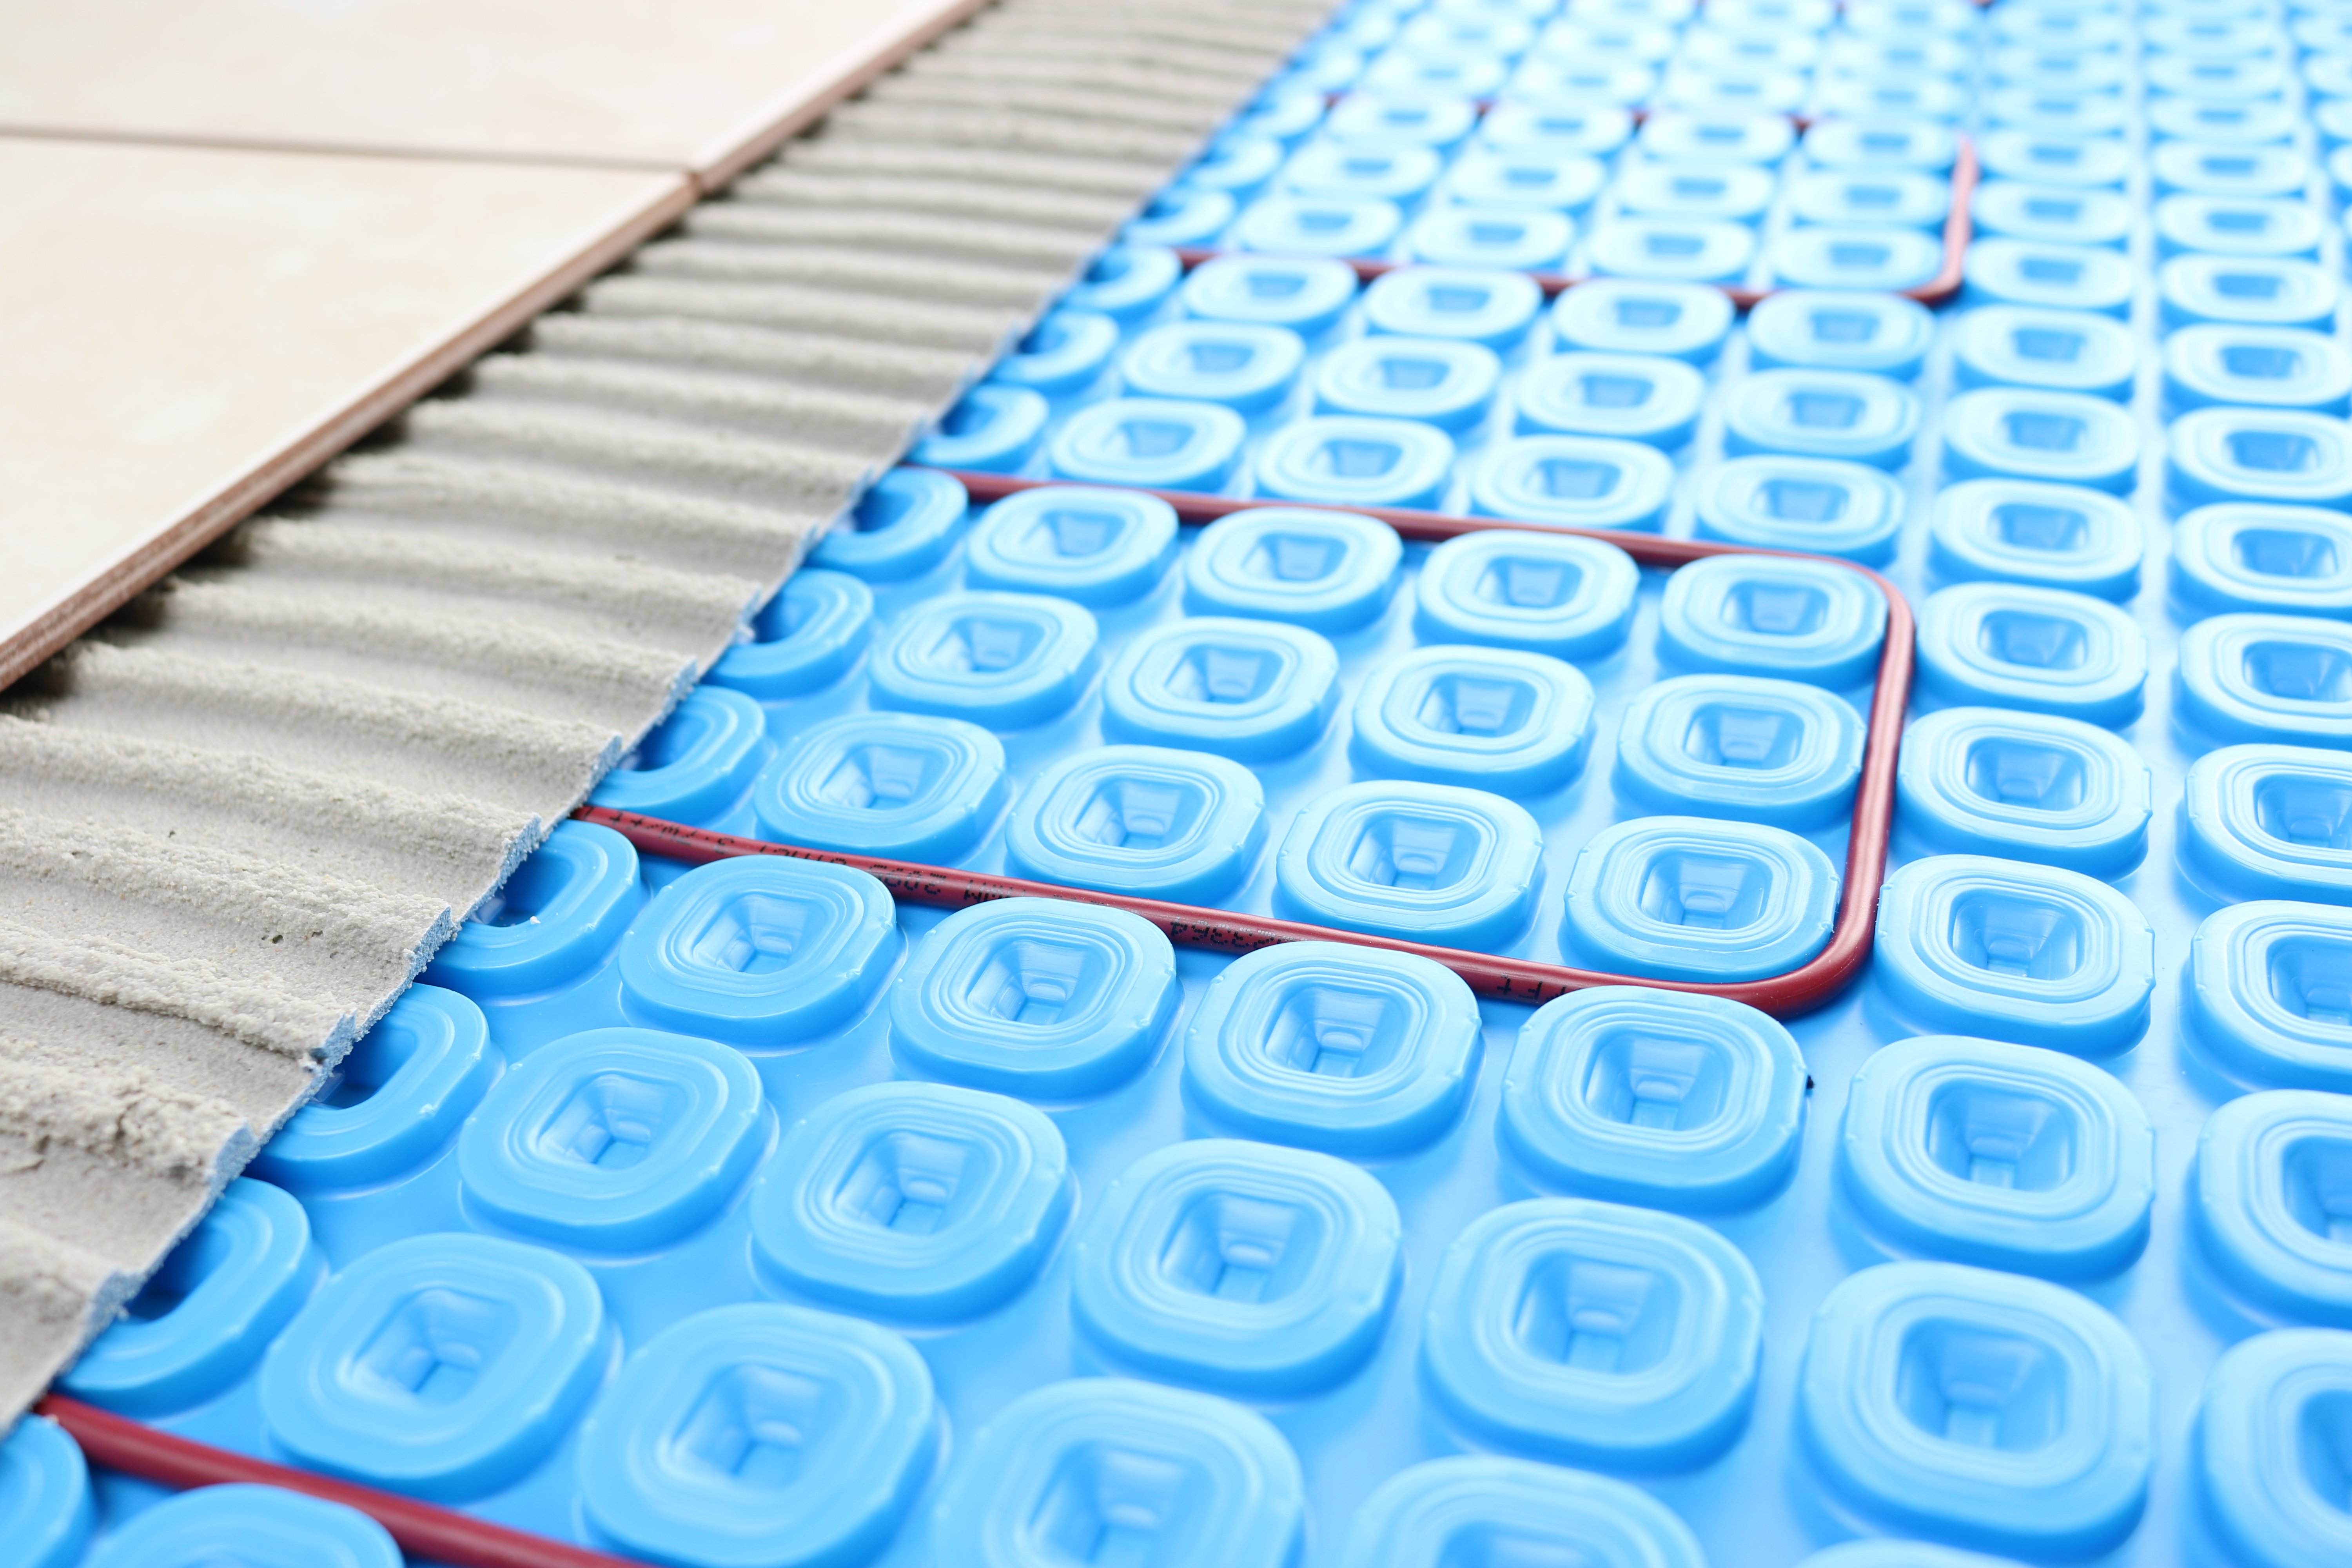
Twenty years later, the Tile Council of America developed a modified powdered thinset with dry polymers that were activated by adding water to the mix. These modified thinsets also went back to being as their name describes — thin — thanks to their added strength. Typically, they’re applied at about 3/16 inch thick when spread out with a 3/8 inch notch trowel. And for radiant floor heating installations, the thinset must be at least 3/8 inch thick in order to embed the heating element and adhere the tile.
And tile installers haven’t looked back. Modified thinset is the product of choice for most tile installations because of its increased strength and bonding with minimal shrinkage, which means a reduced chance of cracks forming in the tile. WarmlyYours Radiant Heating recommends modified thinset mortar for nearly all tile and stone installations. However, if you’re using an uncoupling membrane, you’ll want to go “old school” and stick with unmodified thinset.
Unmodified vs. Modified Thinset: Key Differences
Unmodified thinset consists of cement, sand, and water retention agents, while modified thinset includes additional polymers or latex to enhance its performance. Modified thinset offers increased strength, flexibility, and bonding capabilities, making it suitable for a wider range of applications and substrates.
The following table compares unmodified and modified thinset:
| Feature | Unmodified Thinset | Modified Thinset |
| Composition | Cement, sand, and water retention agents | Cement, sand, water retention agents, and additional polymers or latex |
| Strength | Suitable for basic tile installations | Enhanced strength for more demanding applications |
| Flexibility | Limited flexibility | Increased flexibility to resist cracking and movement |
| Bonding | Adequate bonding for most surfaces | Superior bonding to a wider range of substrates |
| Curing | Requires moisture to cure properly | Can cure through a hydration process or by air drying |
| Application | Ideal for use with impervious flooring membranes | Recommended for most tile and stone installations |
| Thickness | Traditionally applied in thicker layers | Can be applied in thinner layers due to added strength |
| Cost | Generally less expensive | Slightly more expensive due to additional components |
| Shelf Life | Longer shelf life when stored properly | May have a shorter shelf life due to added polymers or latex |
When to Use Unmodified Thinset
A lot of the uncoupling membranes used in flooring installations are impervious, which means they will not deprive the thinset of its moisture. As a result, the unmodified thinset can properly hydrate, creating interlocking crystals that will form a strong, dense bond.
Modified thinset, on the other hand, is not recommended because it relies on air to cure properly. When sandwiched between two impervious layers — the tile and the installation membrane — drying can only take place through the open grout joints, which can take as long as 60 days! If an extended cure time is not observed before grouting, the results would be unpredictable. Therefore, it’s best to use unmodified thinset when working with an impervious installation membrane for installing radiant floor heating.
It's important to note that latex-modified thinset can still be used between the membrane and the subfloor because it is not impervious. Remember to always consult and adhere to the latest installation instructions and product recommendations for your specific brand and type of membrane.
Choosing the Right Thinset for Your Tile Installation
When selecting thinset for your project, consider factors such as the type of tile being installed, the substrate material, and the environment in which the tile will be placed. For example, use unmodified thinset when installing tiles on an impervious membrane and opt for modified thinset in most other scenarios.
How to Properly Mix and Apply Thinset
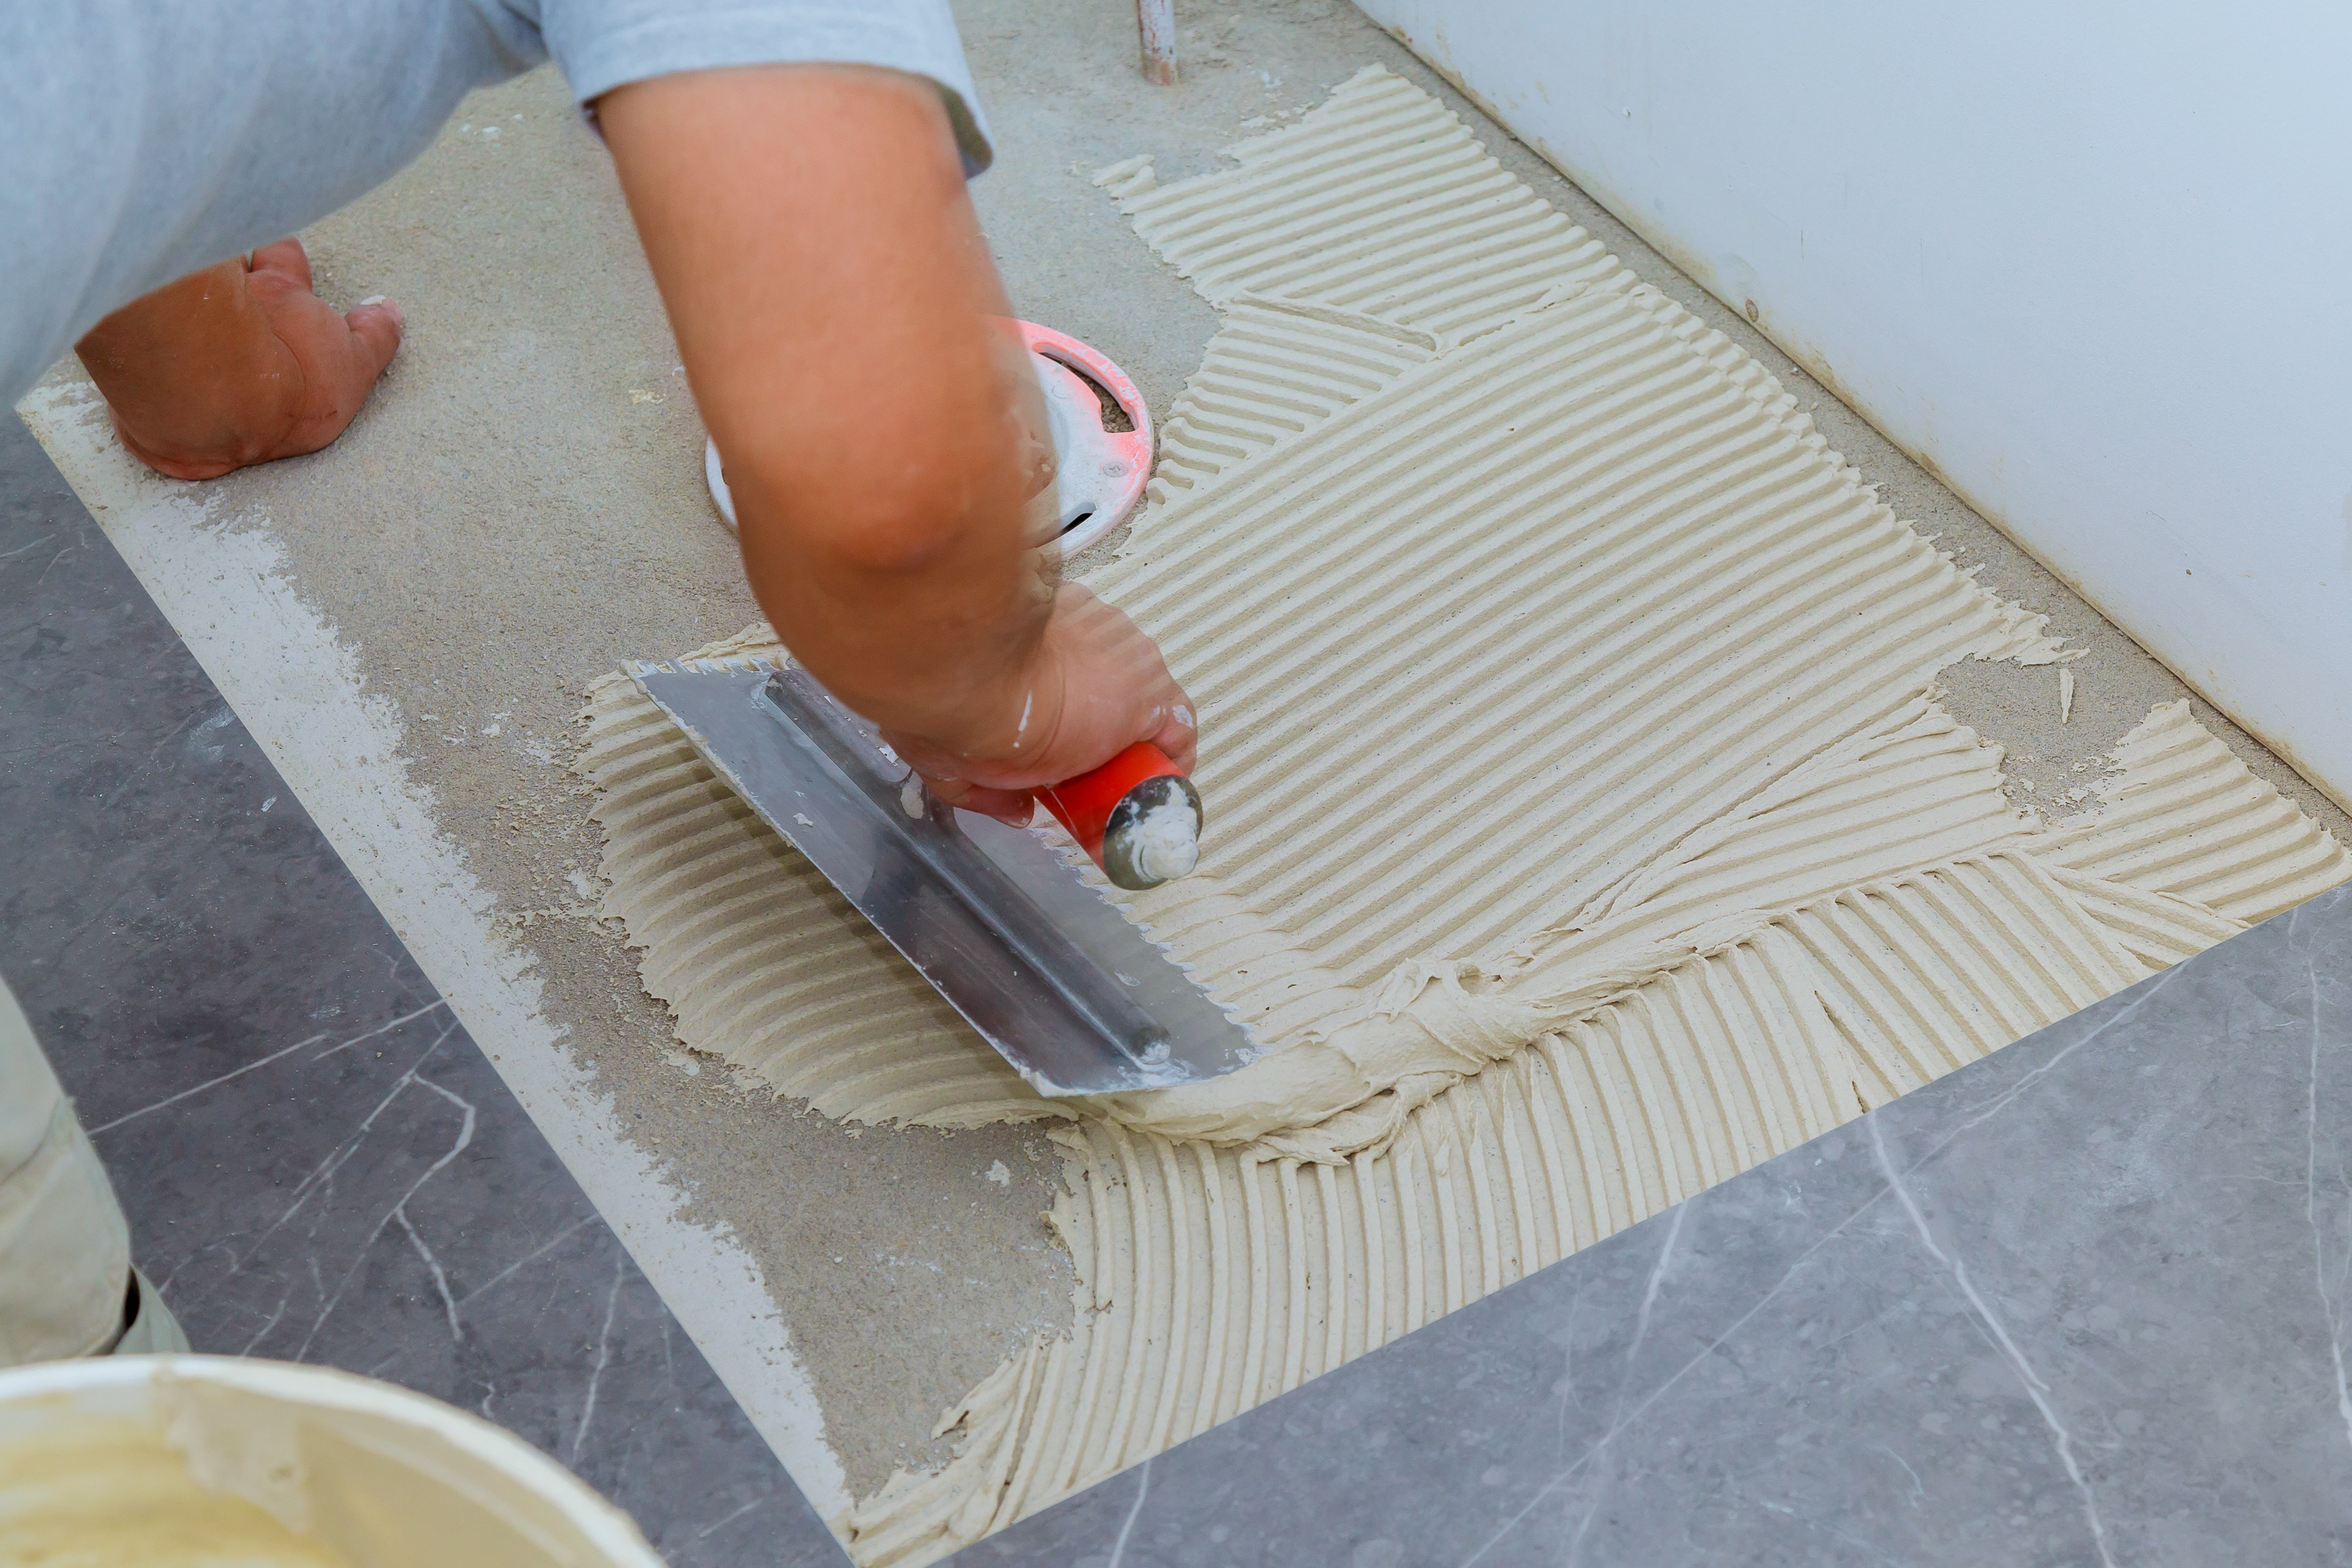
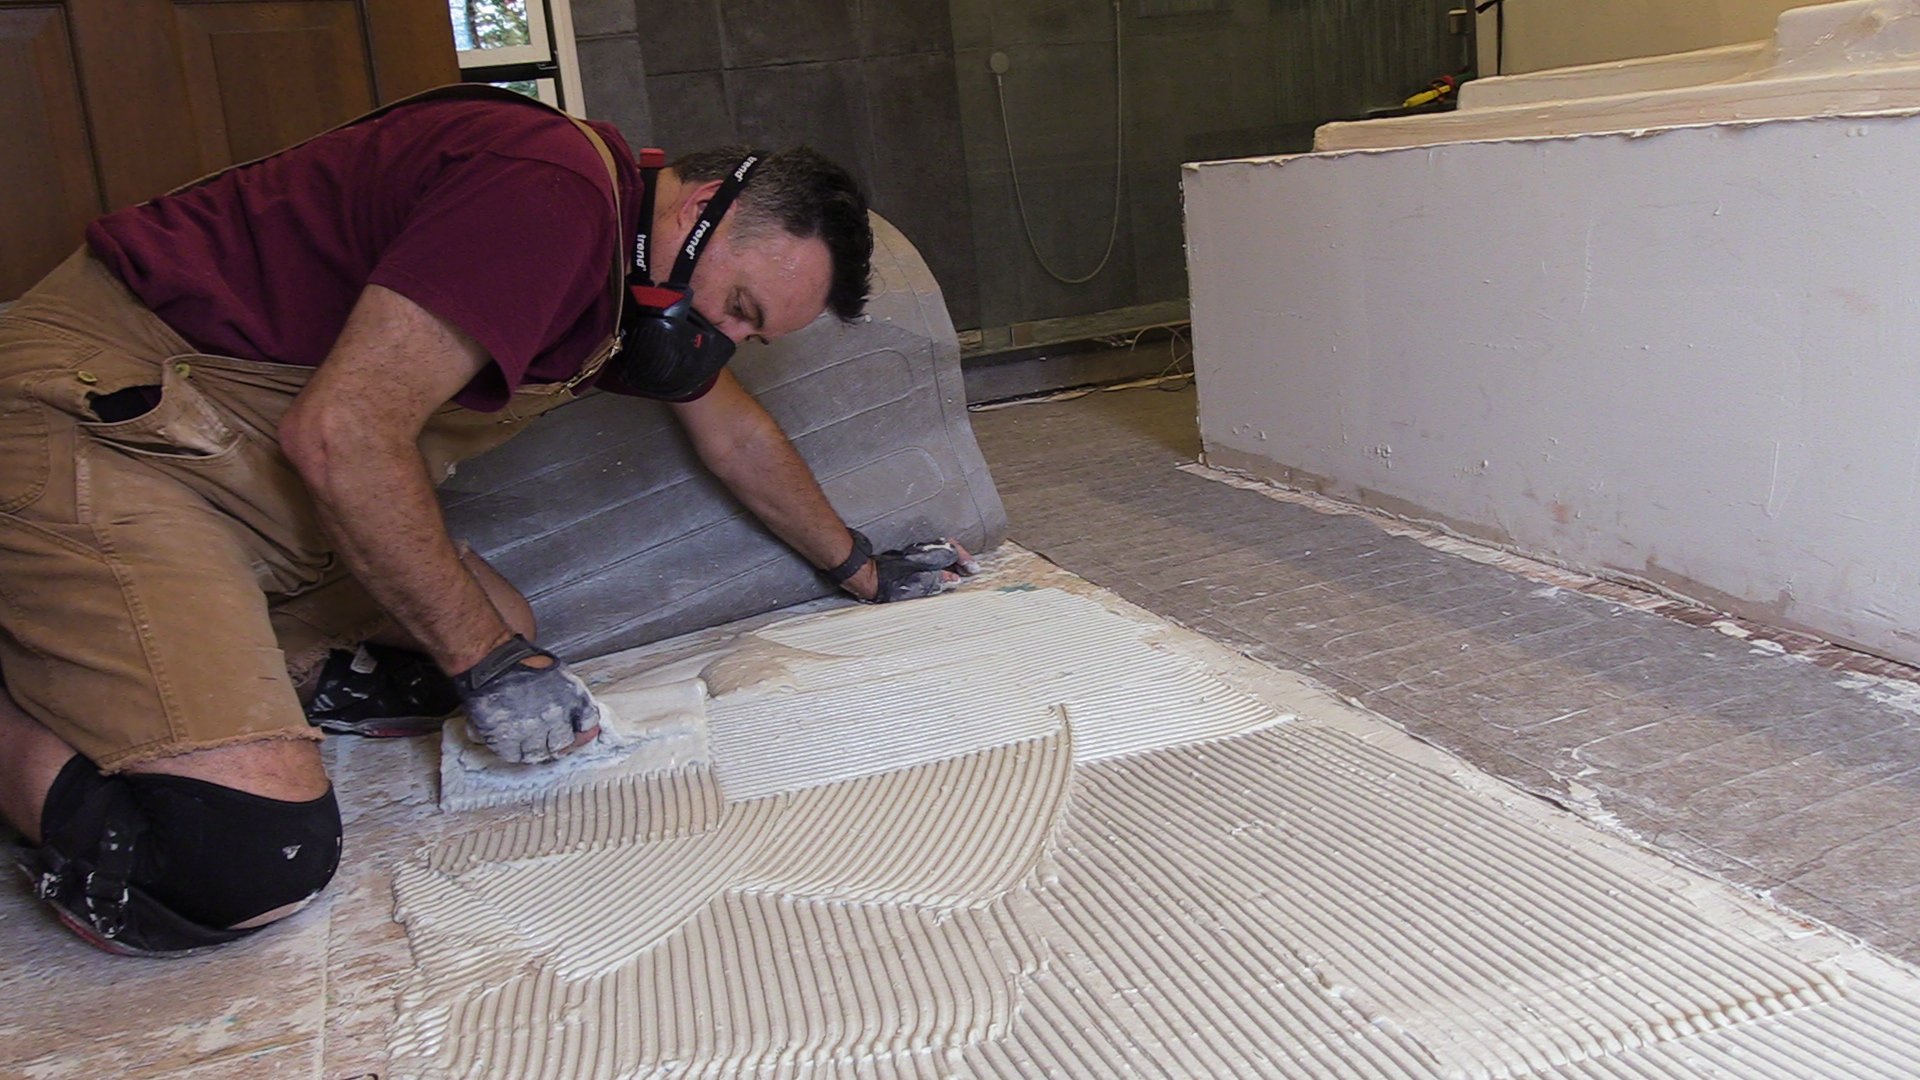
To achieve the best results, it's always best to refer to the manufacturer's instructions. However, generally speaking, to properly mix thinset you will add the dry thinset mix to the water and use a drill fitted with a mixing paddle to blend the materials until the consistency resembles frosting or peanut butter. Apply the thinset using the appropriate notched trowel size for your tile, ensuring full coverage and avoiding air gaps.
Thinset Tips
- Always add the dry thinset mix to the water — not the other way around.
- Use a drill fitted with a mixing paddle to mix the thinset.
- Mix the thinset as if you’re mixing batter. Start slowly so as not to splash the powder or water out of the bucket and stop when it’s the consistency of frosting or peanut butter.
- Only make enough thinset that you can use within 20-30 minutes. This will prevent hardening in the bucket.
- To test if the thinset is still viable to use, test it with your finger. If the thinset sticks to your finger, it should still stick to the surface being tiled. If not, throw it out and start a new batch.
- Ensure that there are no air gaps during application of thinset.
- Make sure the heating cable, factory splices, and low-voltage thermostat sensor (if used) are completely embedded in the thinset.
- Don’t turn on the radiant heating system until the embedding thinset has fully cured. Turning the system on before the thinset has cured could cause the thinset to become brittle. This type of system failure will not be covered by most industry warranties. It usually takes 2-28 days for thinset to fully cure but make sure to defer to curing times provided by the manufacturer for the thinset you’re using in your project.
Common Mistakes to Avoid When Using Thinset
Some common mistakes to avoid when working with thinset include adding water to the dry mix (instead of adding the dry mix to the water), using thinset that has begun to harden, and failing to fully embed heating cables, factory splices, or floor sensors in the thinset. Additionally, never turn on a radiant heating system until the thinset has fully cured, as this can cause the thinset to become brittle.
Thinset and Radiant Floor Heating Systems
When installing radiant floor heating systems, it is crucial to use the appropriate type of thinset and follow the manufacturer's guidelines. WarmlyYours recommends using modified thinset for most tile and stone installations, with the exception of installations involving uncoupling membranes, which typically require unmodified thinset between the membrane and the tile.
Frequently Asked Questions (FAQs)
Here are some of the most common questions we get about these types of thinset.
How long does thinset take to cure fully?
This depends on a lot of variables (to name a few: the depth of the layer of thinset, the width of the grout lines in the tile, the ambient dryness in the room, etc.) so the best bet is to refer to the thinset manufacturer's instructions.
Can I use leftover thinset that has begun to harden?
It is unlikely that you would have time to use this thinset before it becomes too hard unless you already have a project lined up.
What happens if I turn on the radiant heating system before the thinset has cured?
You don't want to do this because if you do, you can cause the thinset to become brittle.
Is it necessary to use a notched trowel when applying thinset?
Yes, this type of trowel has been designed for applying thinset because it creates not only even applications in crenelated rows but it also prevents air bubbles which can happen with flat edged trowels.
Can I use modified thinset for all tile installations?
No, there are some applications where the thinset will be sandwiched between two impervious layers which would make curing modified thinset take far longer than is practical. That being said, modified thinset is the go-to choice for most tile installations.
Have Questions About Your Project?
Our team of Radiant Experts is ready to help!
Related Articles

A Trade Pro’s Guide to Thinset vs. Self-Leveling
")
Thinset vs. Self-Leveling when Installing Radiant Floor Heating

Answering Some of Electric Floor Heating’s Most Frequently Asked Questions (FAQs)
Stay Updated
Get the latest radiant heating news and tips delivered to your inbox.
Comments